Pages

Thursday, October 8, 2026

The Complete Guide to Window Replacement in North Carolina

If you are researching window replacement in North Carolina, you have probably noticed that every window company tells a slightly different story. The questions that matter are practical ones: how do I know mine are done, what will it cost, and who can I trust to do the work right? This guide answers those questions in plain language, with North Carolina’s climate in mind throughout, from warning signs and honest repair-versus-replace math to labels, materials, installation, and choosing a contractor with confidence.

Key takeaways

  • Replace windows when they stop doing their job: keeping air, water, and temperature where they belong. Fog between panes, rotted frames, persistent drafts, and water intrusion are the clearest signals.
  • Not every problem needs new windows. Worn weatherstripping, broken hardware, and failing caulk can often be repaired when the frame and seals are sound.
  • North Carolina’s humidity, summer heat, storms, and pollen season punish weak seals and poor flashing, so installation quality matters as much as the product.
  • National cost data puts most projects between a few hundred and a couple thousand dollars per window installed, with material, window style, and installation method driving the range. Local quotes vary, so compare itemized bids.
  • The U.S. Department of Energy attributes 25 to 30 percent of residential heating and cooling energy use to heat gain and loss through windows, and ENERGY STAR estimates $126 to $465 a year in savings when replacing single-pane windows. Most homeowners notice the comfort gains first.

When replacement stops being optional

When should you replace your windows? Replace them when they can no longer keep air, water, and temperature where they belong. Fog trapped between the panes, soft or rotted frames, drafts you can feel with the window shut, sashes that will not open or lock, and any sign of water getting in are the clearest signals. A single minor issue can often be repaired, but several problems showing up together usually mean the window as a system is done.

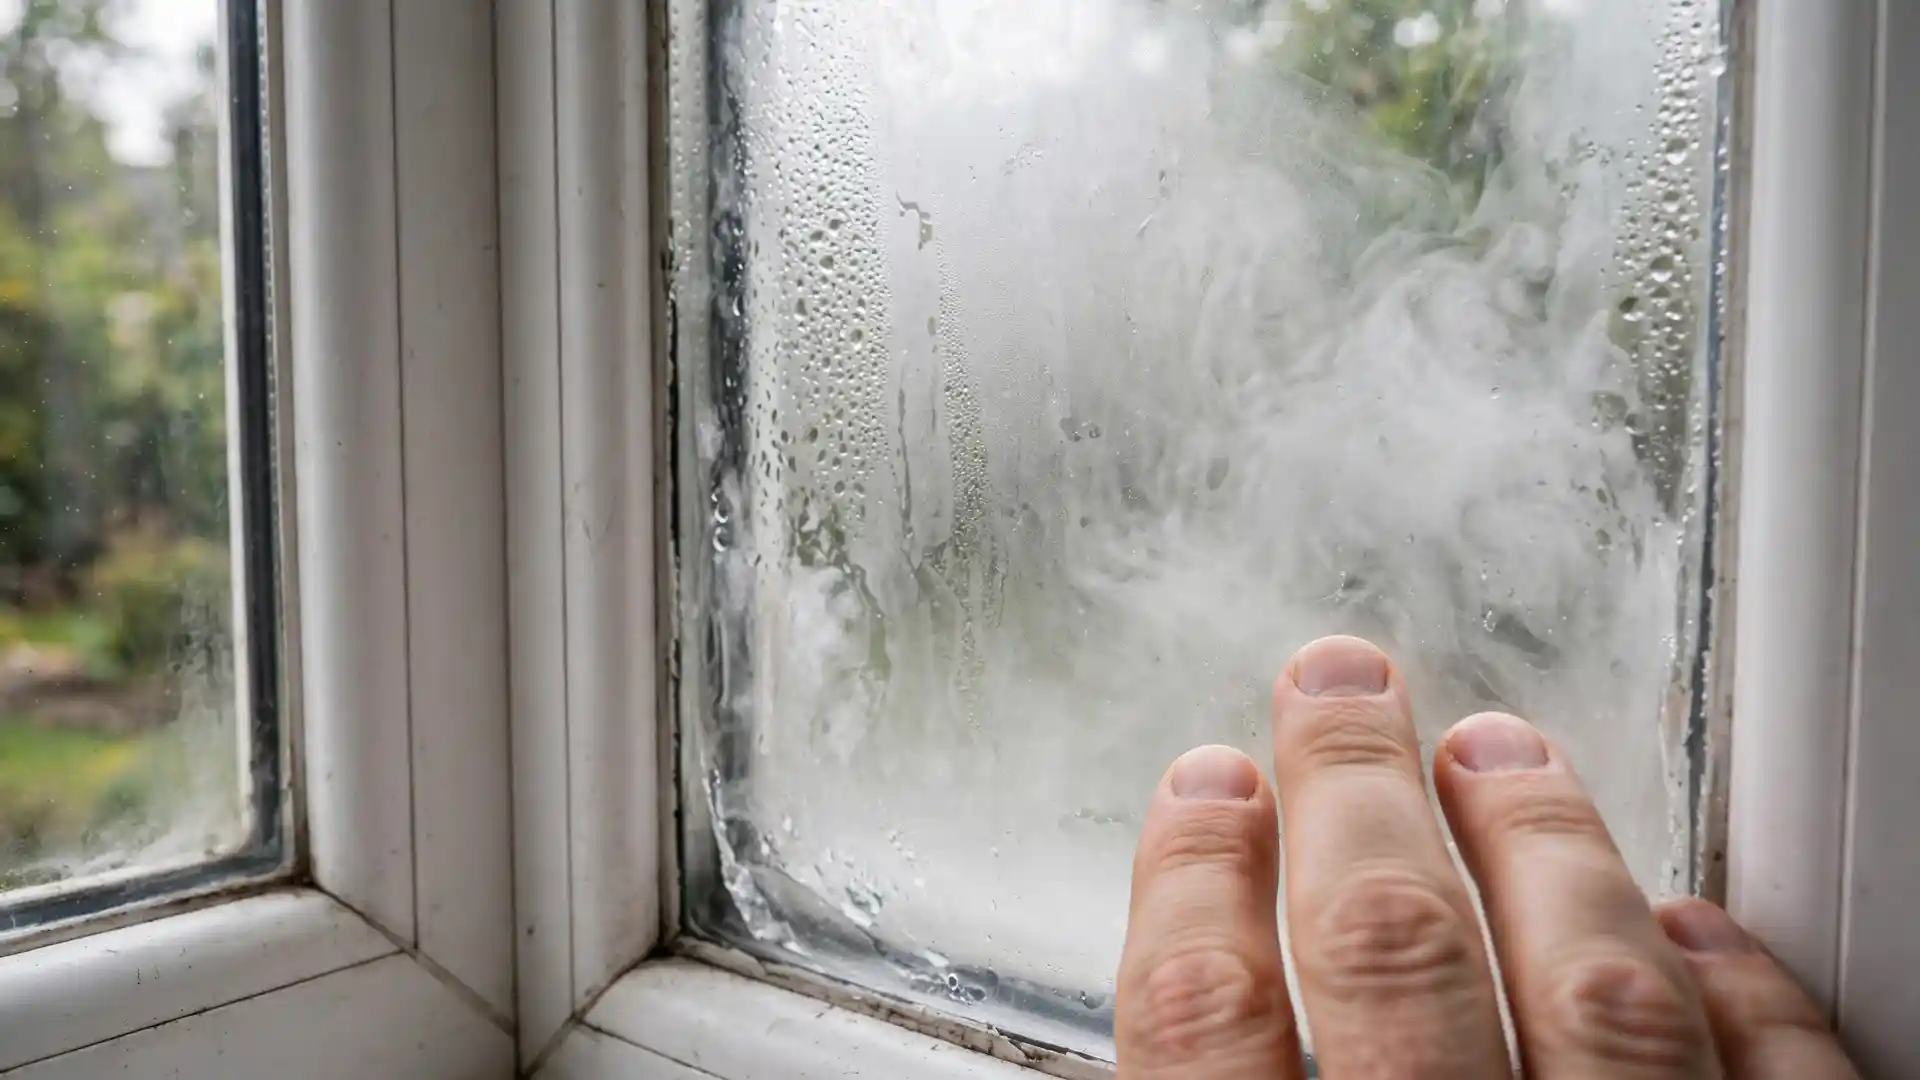
Foggy window with condensation trapped between panes showing seal failure

Drafts are the symptom most people notice first. On a windy evening, hold a lit candle or a thin tissue near the edges of a closed window. If the flame flickers or the tissue moves, air is finding a way through. A little leakage around old weatherstripping is normal and fixable. Drafts that persist after fresh caulk and weatherstripping point to a deeper failure in the frame or seals.

Fog or haze caught between two panes tells a more final story. That cloudiness means the seal on the insulated glass unit has failed and the insulating gas has escaped. The window may still open and close, but it no longer insulates the way it was built to, and no cleaning will clear the inside of the glass. Seal failure cannot be reversed, only replaced.

Frames deserve a close look, especially wood ones in our humidity. Press the sill and lower corners with a screwdriver or your thumb. Wood that feels soft, spongy, or crumbles is rotting, and rot spreads into the surrounding wall if left alone. Peeling paint, visible warping, and daylight showing around the sash are earlier warnings worth heeding.

Two subtler signs round out the list. If traffic or lawn equipment sounds as clear as if the window were open, the glass and seals have likely degraded. And if spring allergies rage indoors with every window shut, worn seals may be letting pollen drift inside, a real factor during North Carolina’s heavy pollen season. When several signs point the same direction, a professional assessment of window replacement services will confirm whether repair or replacement is the right call.

Replace, repair, or wait: a clearer way to decide

Most window advice skips straight to selling you new windows. A better approach sorts your situation into three buckets: repair it, replace it, or leave it alone for now. Honest contractors think this way, and you should too.

Craftsman repairing a window latch and hardware during a home maintenance visit

When a repair is the sensible call

Repair makes sense when the damage is isolated and the core of the window is still sound. A broken latch, a worn balance, cracked exterior caulk, or tired weatherstripping are component problems with component fixes. A single cracked pane in an otherwise healthy, newer window can be reglazed without replacing the whole unit. For historic wood windows, repair often wins on both cost and character, since old-growth frames can outlast modern replacements when maintained, and some districts restrict exterior changes.

When replacement earns its keep

Replacement earns its keep when the window has failed as a system. Failed seals, rotted or warped frames, and single-pane glass in a home you plan to keep are not component problems. Neither is a pattern: when five windows fog, stick, or leak, the sixth is rarely far behind. Age informs the call more than it decides it. Angi notes that most windows last between 15 and 30 years depending on material, glass quality, local weather, and installation quality. A 25-year-old window with a failed seal and soft frame has given good service. Pouring repair money into it rarely pays.

When waiting is perfectly fine

Waiting is perfectly fine when your windows still do their job. Smooth operation, no air or water leaks, steady comfort, and solid frames mean you are not on a deadline. Monitor them once or twice a year, keep caulk and paint in good shape, and spend your budget where it matters more. The one mistake is waiting after the signs turn serious. Water intrusion does not pause while you decide, and rot discovered during a future installation always costs more than rot caught early. If you want help thinking through the options for your specific windows, this companion piece on choosing the right replacement windows for your home walks through styles and selection in more depth.

How North Carolina weather wears windows down

Window advice written for a national audience misses how hard our climate works against windows. Humidity is the quietest enemy. Moist air finds every weak seal and unpainted wood surface, feeding rot in frames and mold in the surrounding wall cavity. Homes in the Triangle and east toward the coast feel this most, where summer air can stay thick for weeks.

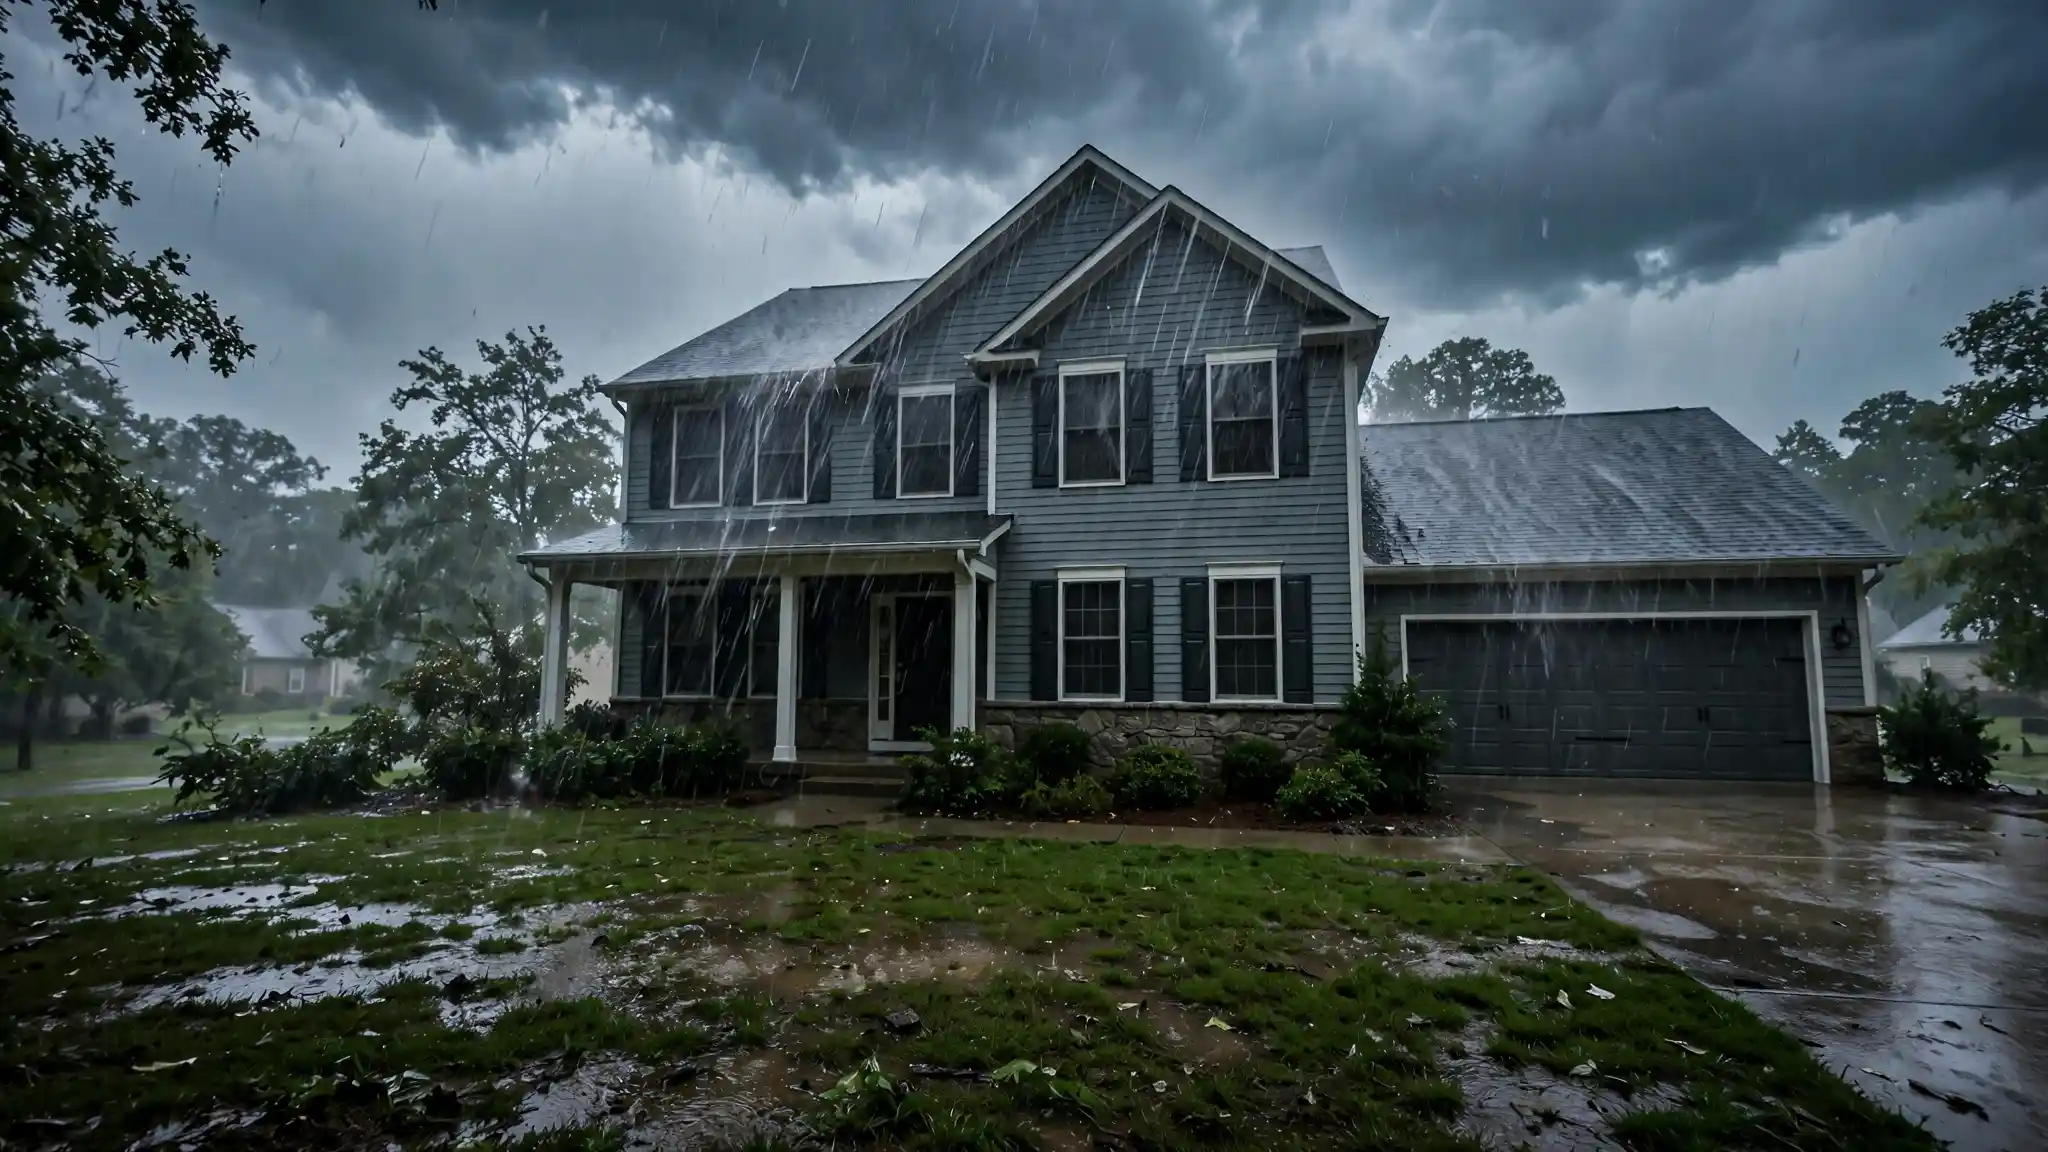
North Carolina house exterior in a heavy rainstorm with rain streaking down windows

Heat is the loudest enemy. Long, bright summers push solar heat straight through underperforming glass, and your air conditioner pays the difference. This is why the solar heat gain rating on a window label matters more here than it does in cooler states. A window that performs beautifully in a northern climate can still leave a south-facing Carolina bedroom stifling in August.

Storms test the details nobody sees. Wind-driven rain probes flashing, caulking, and sill drainage, and one tropical system can reveal installation shortcuts that survived years of ordinary weather. Proper flashing integration with the house wrap is not a luxury here. It is the difference between a window that sheds water for decades and one that quietly soaks the wall beneath it.

Then there is pollen season. When seals deteriorate, fine yellow dust drifts through gaps you cannot see, coating sills and aggravating allergies indoors. Tight replacements will not cure allergies, but many homeowners notice the springtime film on their sills thinning after an upgrade. If you are comparing window replacement in Raleigh or elsewhere in central North Carolina, ask each bidder how their products and installation handle sustained humidity and wind-driven rain, not just winter cold.

Reading the label: U-factor, SHGC, and honest expectations

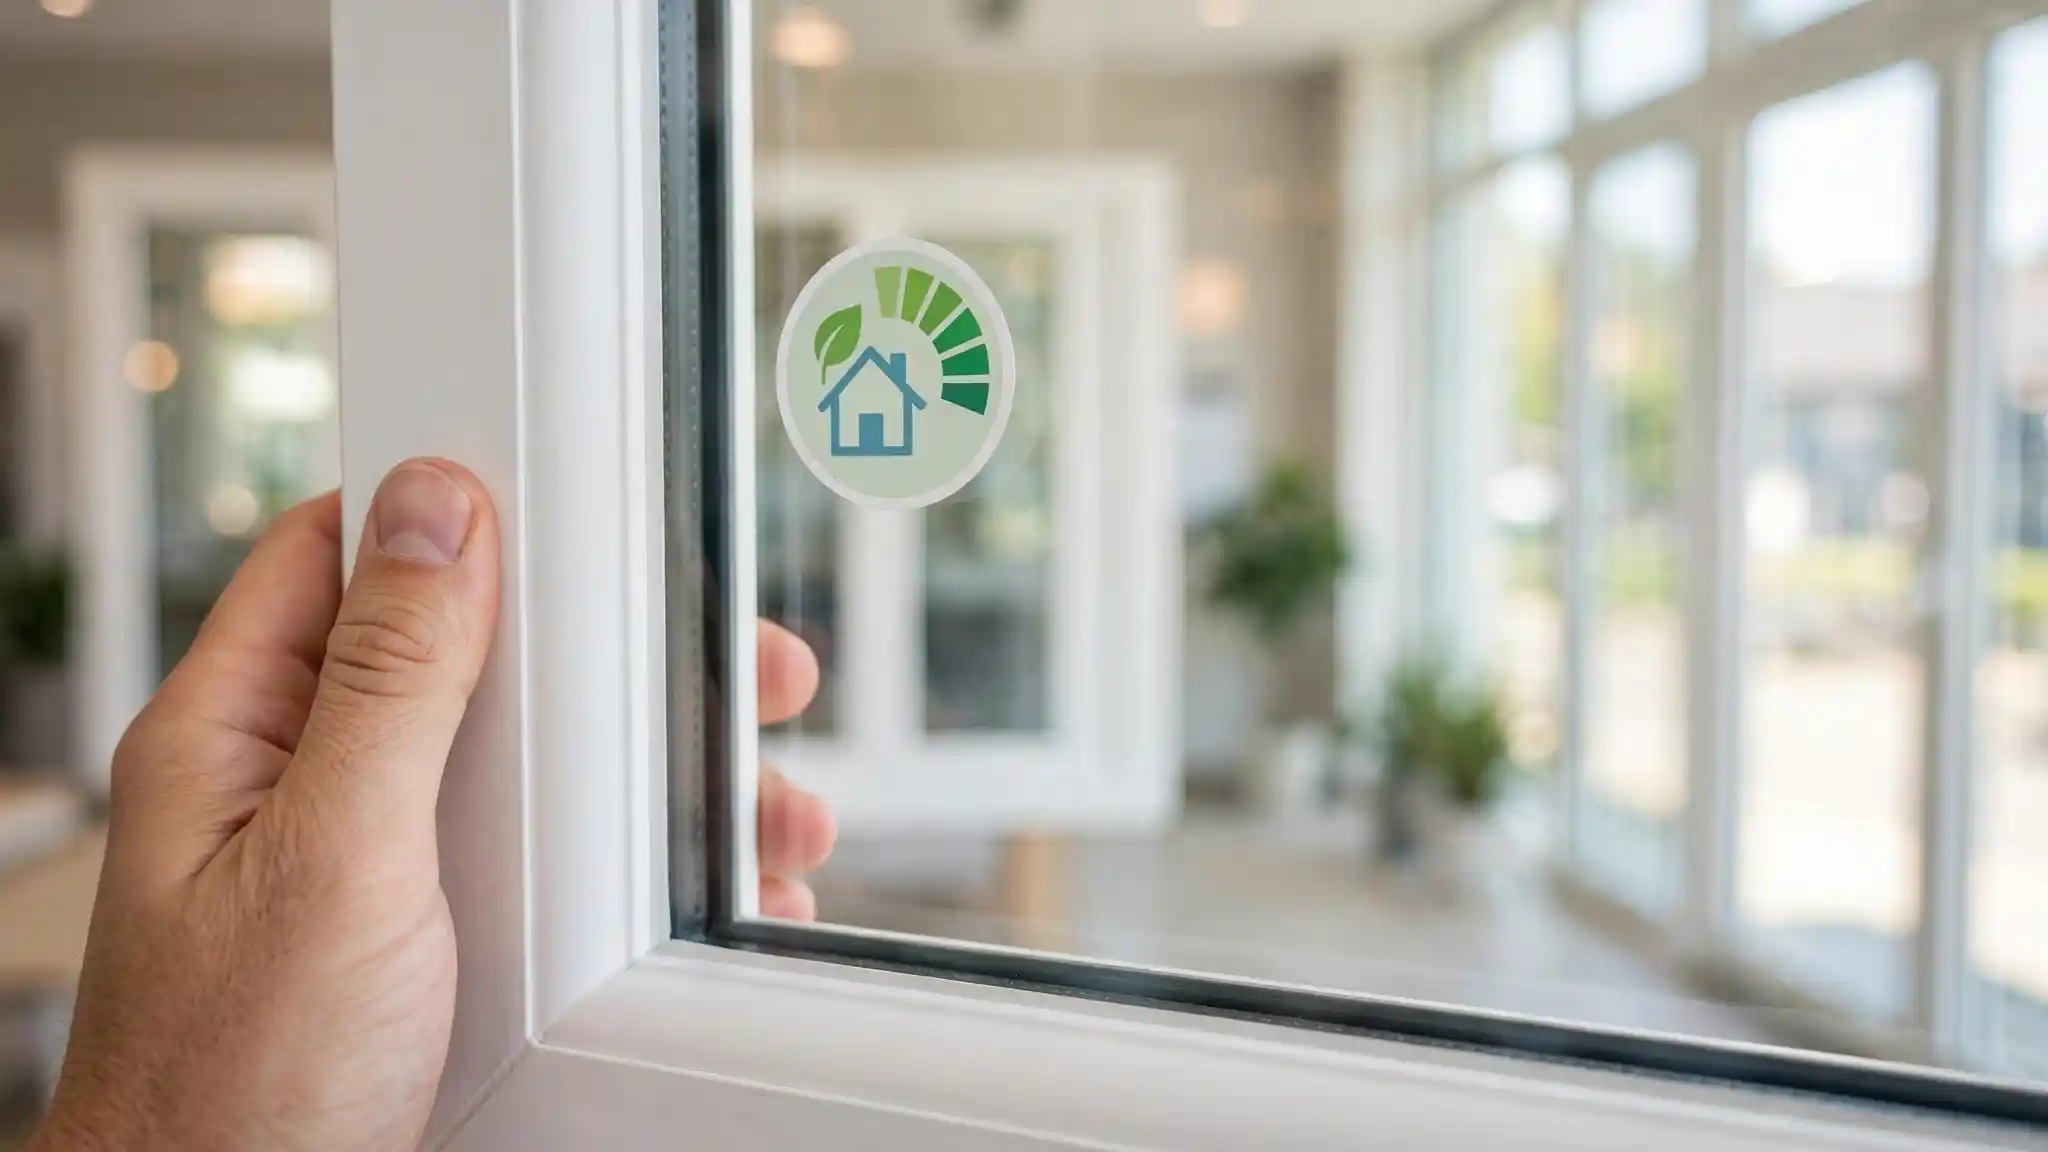
Every quality window carries a label from the National Fenestration Rating Council, or NFRC, with three numbers worth learning. U-factor measures how readily heat moves through the whole window, and lower is better in every season. Solar Heat Gain Coefficient, or SHGC, measures how much of the sun’s heat passes through the glass. In a cooling-dominated climate like ours, a lower SHGC keeps sunny rooms from overheating. Air leakage ratings describe how much air slips through the assembled unit, and again, lower means tighter. Because every manufacturer tests the same way, these numbers let you compare products honestly instead of comparing brochures.

Hand holding a new window showing its energy performance rating label

ENERGY STAR certification builds on those ratings with thresholds tuned to climate zones. A window certified for our Southern climate zone has cleared criteria written for hot, humid conditions. Looking for the blue label is one of the simplest ways to narrow a crowded field.

Now for the honest part about savings. The U.S. Department of Energy estimates that heat gain and heat loss through windows account for 25 to 30 percent of residential heating and cooling energy use, which is why windows matter to your bills. ENERGY STAR estimates $126 to $465 a year in savings when replacing single-pane windows with certified models, and up to 13 percent lower household energy bills on average nationwide. Those figures describe real potential, and they depend heavily on what you are replacing. Swapping failing single-pane windows changes the math far more than swapping decent double-pane units from fifteen years ago.

Here is what experienced installers will tell you, and what the best independent guides confirm: the first thing you notice after replacement is rarely the utility bill. It is comfort. Rooms that used to run hot or cold even out. Drafts disappear. Street noise drops. The bill follows, modestly and over time. Buy windows for comfort and durability first, treat energy savings as a welcome second benefit, and you will never feel misled. You can explore energy efficient windows to see how these ratings translate into actual product choices.

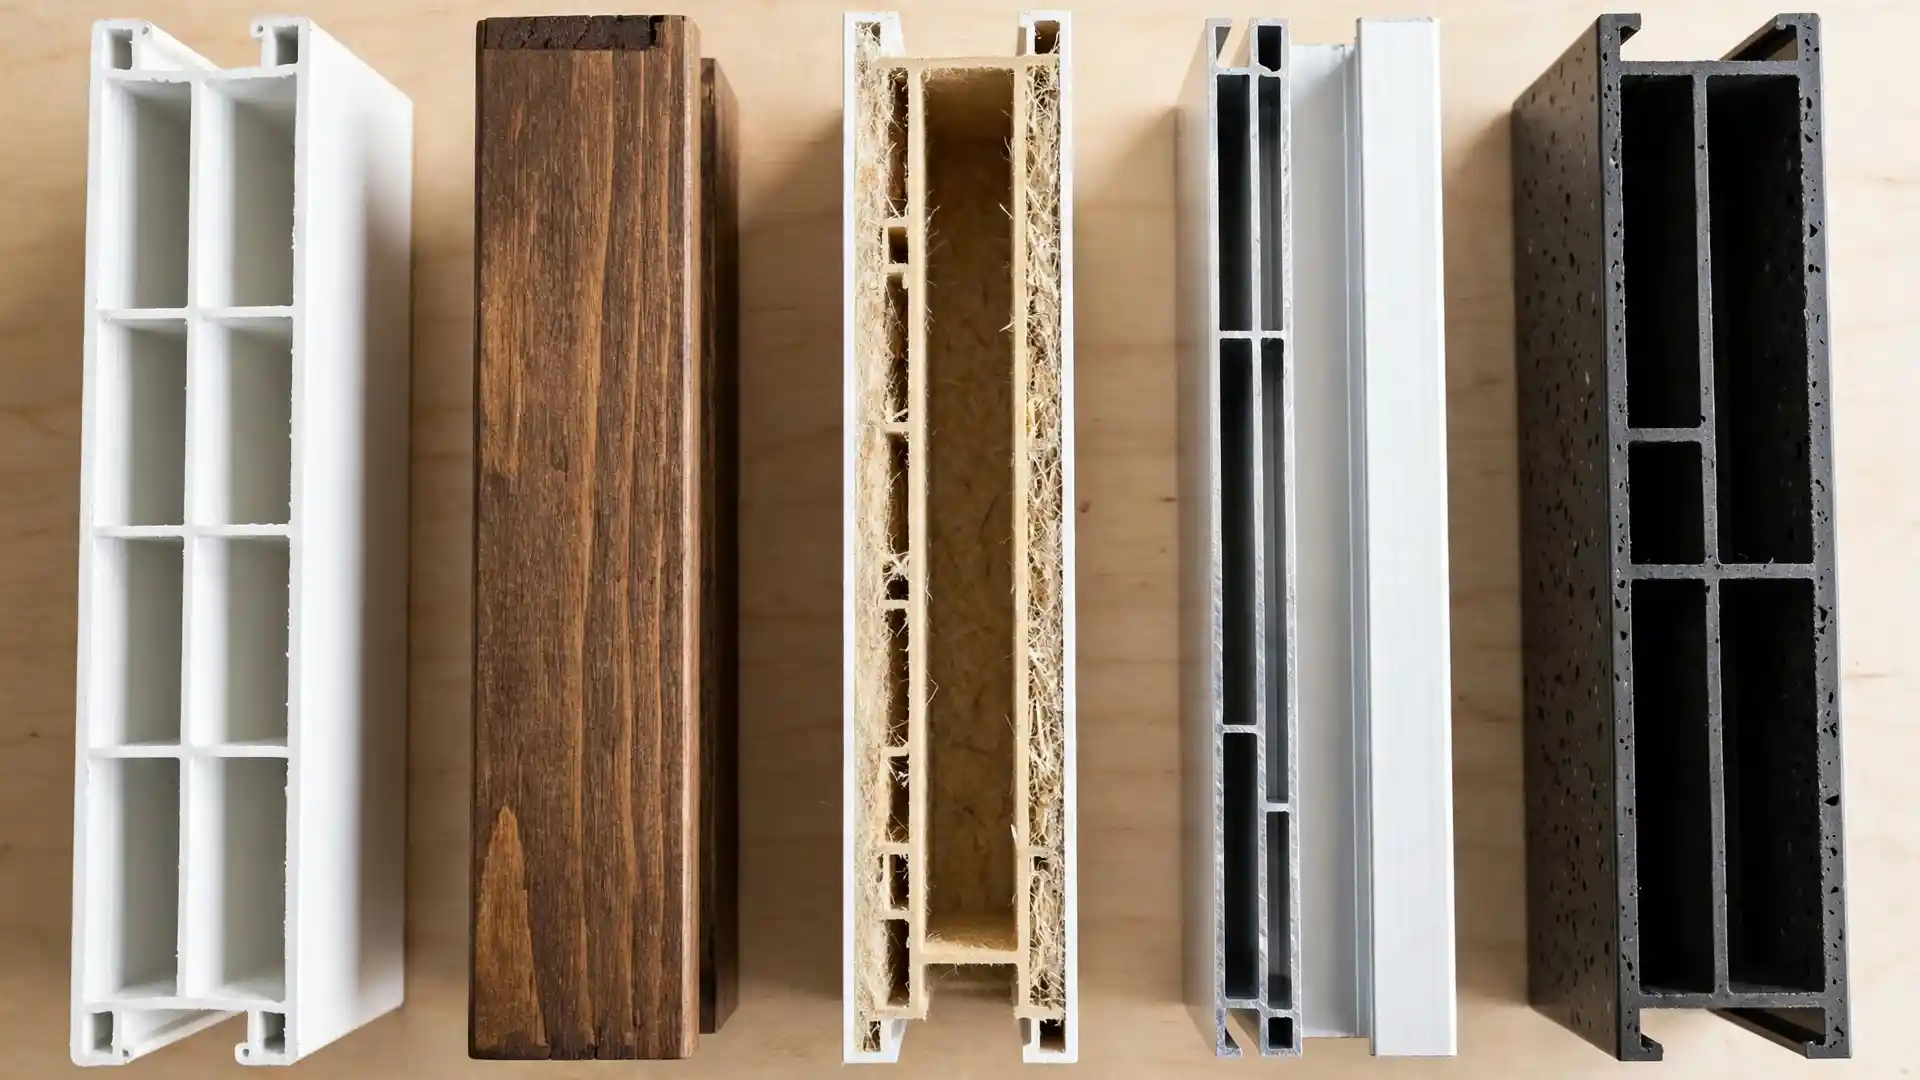
Window frame material samples including vinyl, wood, fiberglass and aluminum compared side by side

Frame materials without the sales pitch

Every frame material asks for a trade. The right one depends on your budget, your home’s style, and how much maintenance you will honestly keep up with. Typical unit costs below come from HomeAdvisor’s national 2026 data and cover the window unit before installation.

Material Strengths Trade-offs Typical unit cost
Vinyl Affordable, shrugs off moisture and rot, needs almost no upkeep Fewer color options on some lines, and very dark colors can be limited $100 to $900
Wood Classic look, naturally good insulator, suits historic homes Demands regular painting or sealing, vulnerable to rot in humidity $150 to $1,300
Fiberglass Strong, stable through temperature swings, paintable, long-lived Costs more than vinyl, fewer installers specialize in it $500 to $1,500
Composite Resists rot and holds paint well, strong frames Higher price, fewer product lines to choose from $300 to $1,200
Aluminum Slim profiles, lightweight, sturdy, budget-friendly Conducts heat readily, weakest insulator of the group $75 to $400

Vinyl dominates the replacement market for understandable reasons. It handles Carolina moisture without complaint, costs less than the alternatives, and asks nothing of you after installation. That combination is hard to beat for most households, which is why vinyl windows remain the default recommendation for so many projects.

Wood still suits historic homes where appearance carries weight and the owner accepts the upkeep. Fiberglass appeals to long-term owners who want strength and will pay for it. Aluminum fits modern designs where slim sightlines matter most. Match the material to your tolerance for maintenance and your time horizon, and the choice usually makes itself.

Glass packages: where comfort actually comes from

Frames get the attention, but glass does most of the comfort work. The baseline for a quality replacement today is double-pane glass with a Low-E coating. Low-E, short for low-emissivity, is a microscopically thin layer that reflects heat while letting light pass through. In summer it bounces solar heat back outside. In winter it reflects indoor warmth back into the room. Either direction, your HVAC system works less.

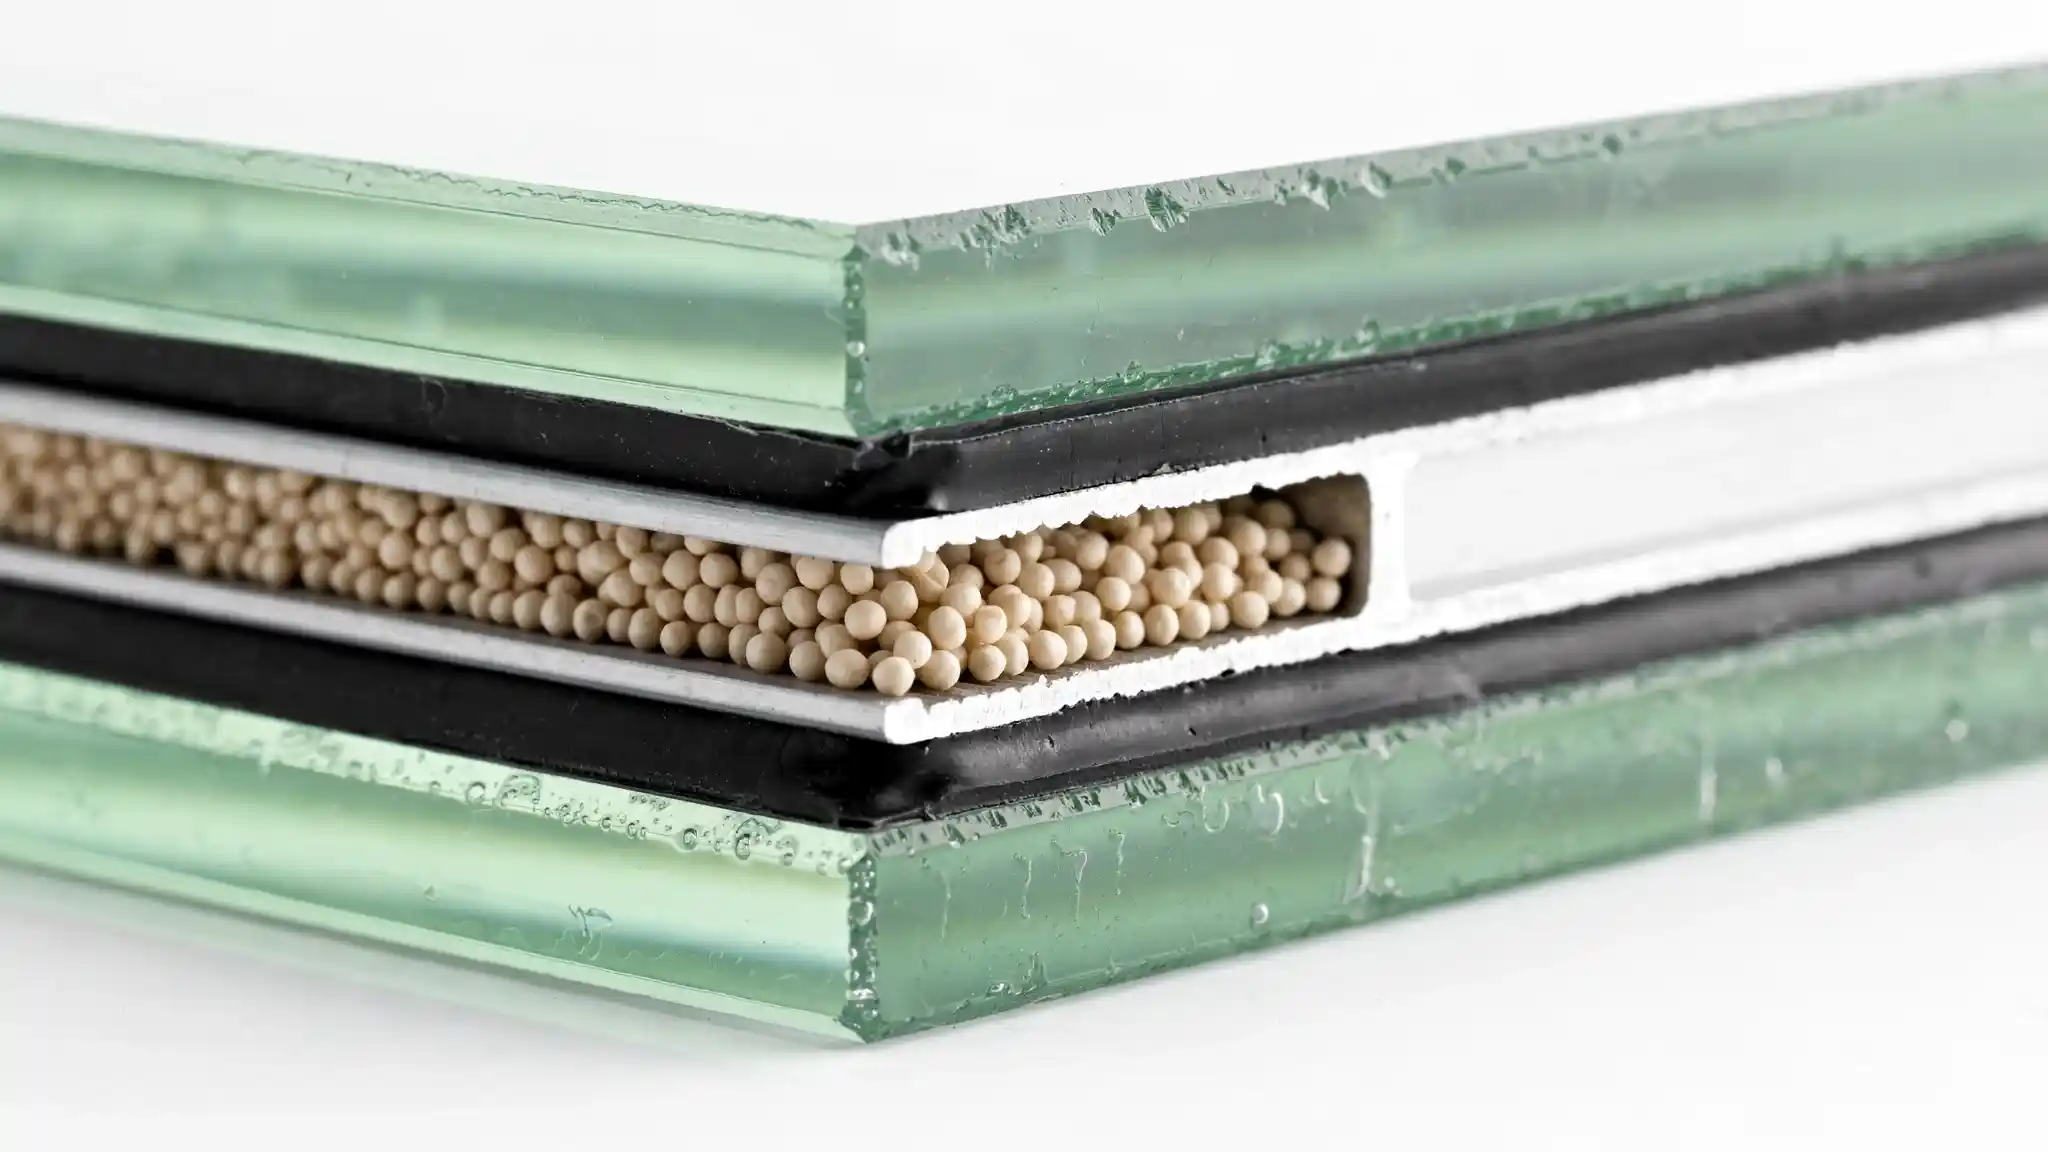
Close-up cross-section of double-pane energy efficient window glass

Between the panes, manufacturers typically fill the sealed space with argon, an inert gas denser than air that slows heat transfer better than plain air. Some premium lines use krypton in thinner gaps. Around the edge of the unit, warm-edge spacers separate the panes with less heat conduction than the aluminum spacers of older windows, which also means less condensation forming at the glass edges on cold mornings.

Triple-pane glass adds a third lite and a second gas-filled chamber for better insulation and quieter rooms, but it costs and weighs more. For most Carolina homes, a well-built double-pane unit with Low-E coating and argon fill hits the sweet spot. Triple-pane earns its premium for bedrooms facing busy roads or walls of west-facing glass that bake every afternoon.

Laminated glass deserves consideration for two separate reasons. Its bonded inner layer holds the pane together if broken, which adds a measure of security and storm resilience. It also dampens sound noticeably better than standard glass. For homes near highways, schools, or flight paths, that acoustic benefit alone can justify the upgrade.

Style affects both daily life and price. The figures below are HomeAdvisor’s national material-only ranges for common window types, before installation labor.

Window style How it works Typical unit cost
Single-hung Bottom sash slides up, top sash fixed $100 to $400
Double-hung Both sashes slide, tilt in for cleaning $150 to $650
Casement Hinged at the side, cranks open outward $150 to $1,000
Sliding Sashes glide horizontally on a track $150 to $800
Picture Fixed pane, no ventilation, maximum view $65 to $700
Bay Three sections angled outward from the wall $910 to $7,100
Bow Four or more sections in a gentle curve $1,500 to $6,500
Custom shapes Arches, trapezoids, and oversized units built to order $1,000 and up

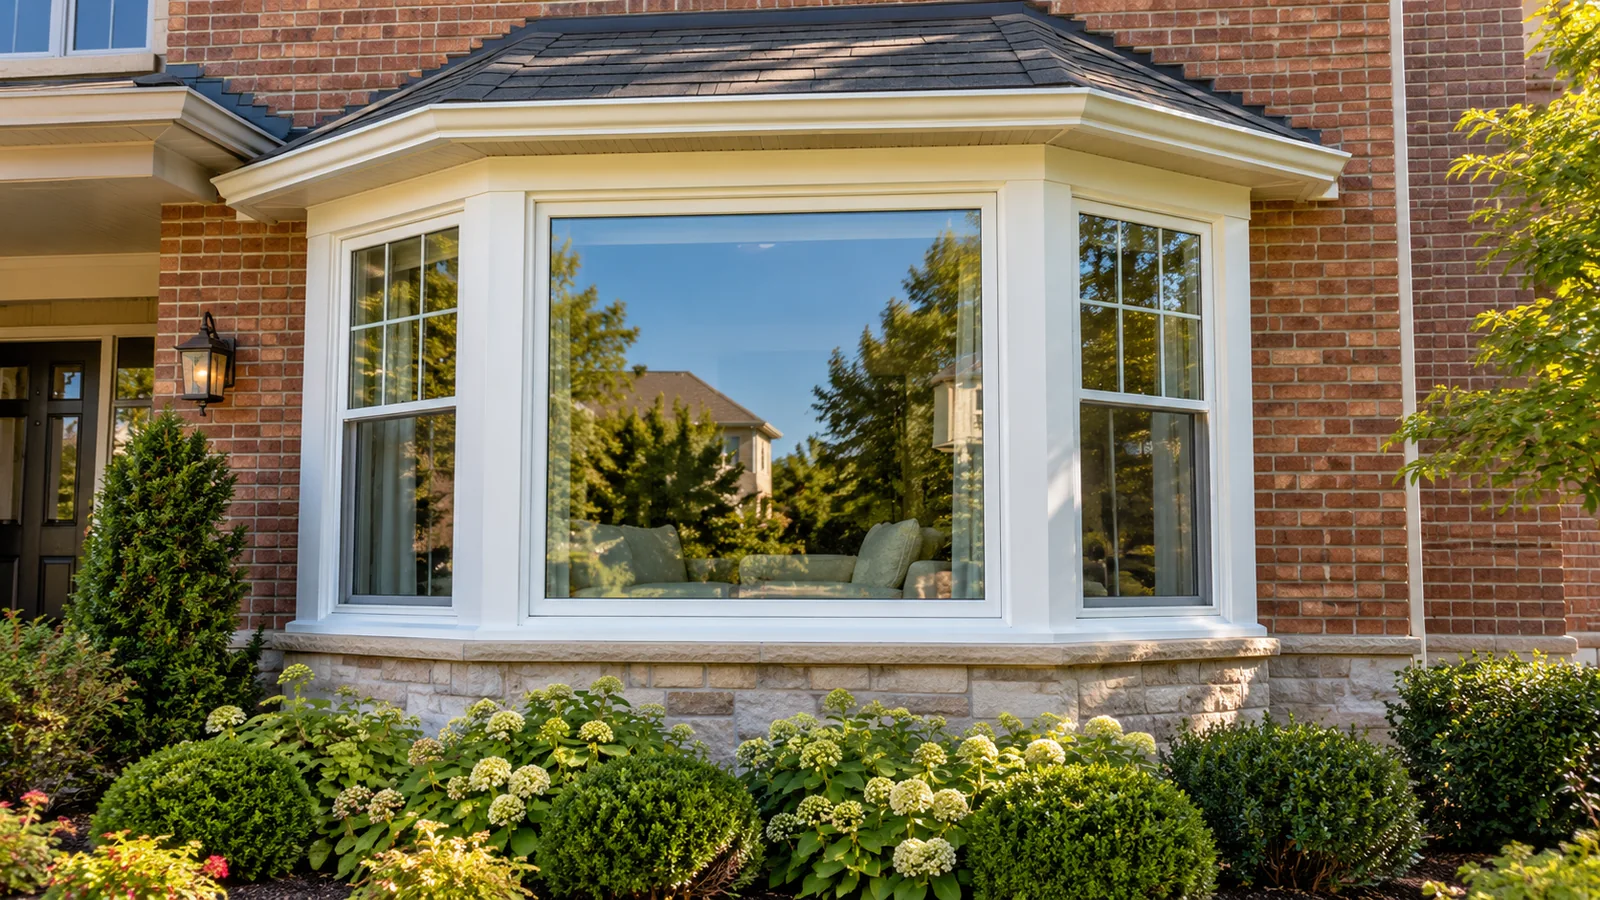
Double-hung windows remain the Carolina standard, familiar and easy to clean from inside. Casements seal tighter than sliders when closed, since the sash presses directly against the weatherstripping, making them a smart pick for draft-prone rooms. Bay and bow windows change a room’s character and light but involve structural work that belongs in professional hands. For openings that are not square or standard, custom window designs built to exact measurements will always outperform a stock size forced to fit.

What the project costs in North Carolina

How much does window replacement cost? National data from HomeAdvisor puts most projects between $300 and $2,100 per window installed, averaging around $850, with the final number driven by frame material, window style and size, glass package, and whether the installation is full-frame or retrofit. A whole-house project of 10 to 15 windows typically lands between $4,000 and $10,500 on the economical end and climbs from there with premium materials. Local labor rates, home age, and the condition of your existing frames move those numbers, so treat national figures as orientation, not quotes.

Project size Typical installed range
8 to 10 windows $3,200 to $7,000
10 to 15 windows $4,000 to $10,500
15 to 25 windows $6,000 to $17,500
25 to 40 windows $10,000 to $28,000

The installation method is the cost lever homeowners understand least. Here is the difference in plain terms.

Retrofit (insert) installation Full-frame installation
What happens New window slides into the existing frame Everything comes out down to the rough opening
Typical labor per window $100 to $300 $150 to $800
Trim Existing interior and exterior trim stays New trim and finishing required
Best when Frames are square, solid, and rot-free Frames are damaged, out of square, or you want a new size or style
Hidden benefit Lower cost, less disruption Crew can find and fix water damage and install fresh flashing

Beyond those basics, several factors nudge the total up or down. Second-story windows and hard-to-reach openings add labor time. Rotted sills or framing discovered during the work need repair before the new unit goes in. Older homes often need custom sizes, since their openings predate modern standards. Permits, where required, generally add $50 to $300 according to HomeAdvisor. And replacing every window at once usually lowers the per-window cost, since the crew mobilizes once instead of three times.

One honest note: an unusually low bid usually means something was left out, whether proper flashing, insulation, disposal of the old windows, or warranty registration. Compare itemized bids line by line rather than bottom-line totals. If budget timing is the concern, ask about financing options early, while you are still comparing quotes.

What installation day really looks like

Here is how a professional job typically unfolds.

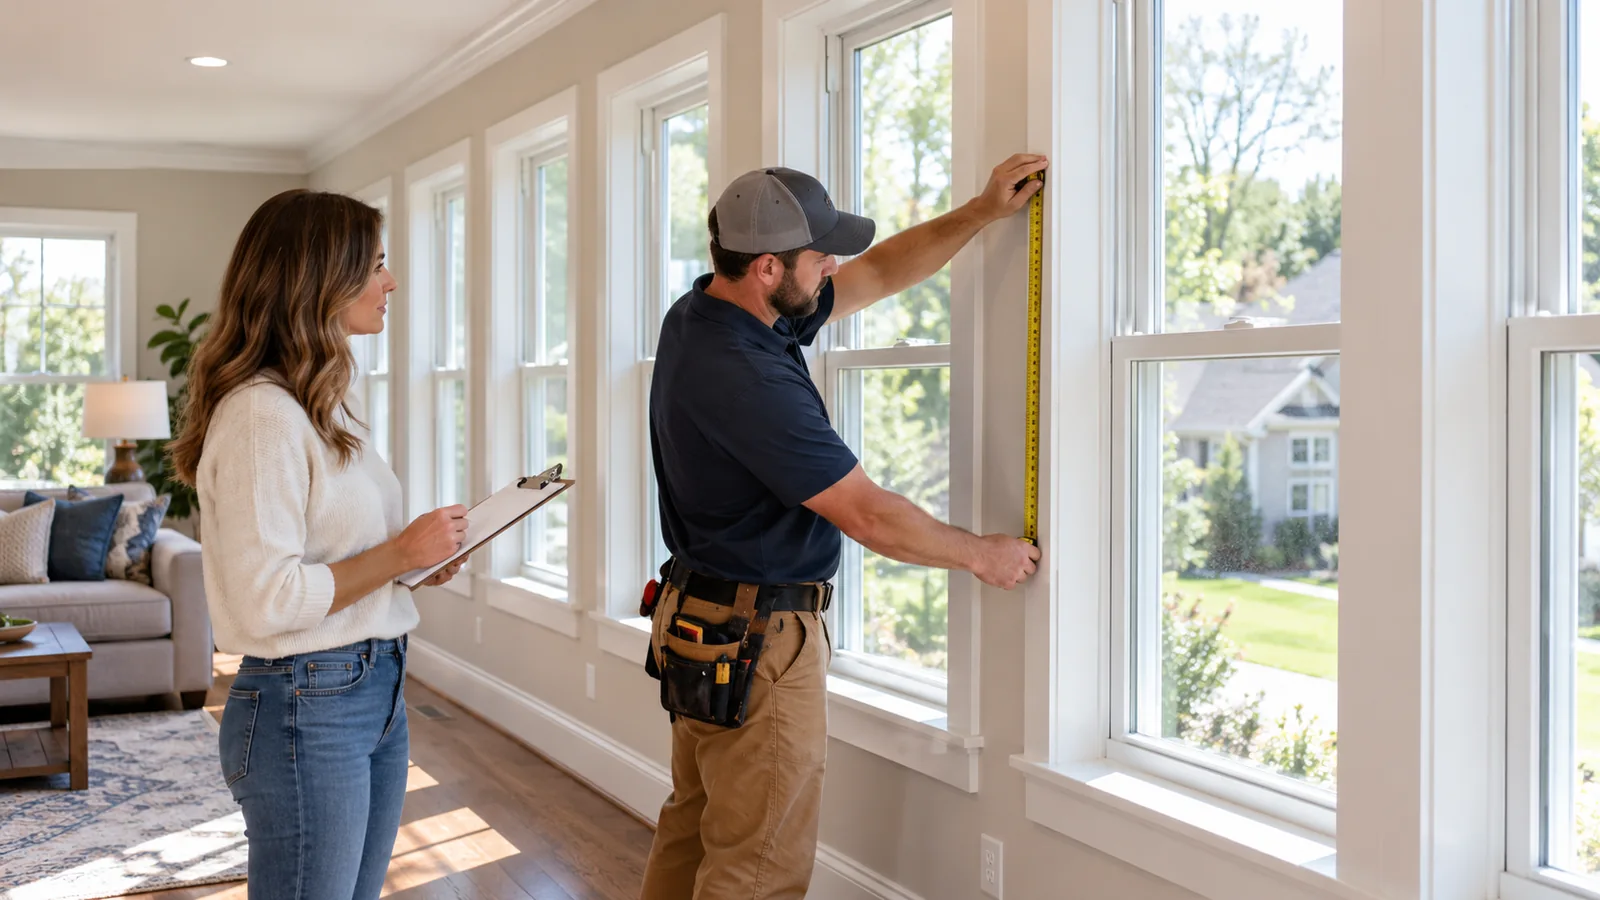
  1. Consultation and measurement. The contractor visits, measures every opening, notes frame condition and any water staining, and discusses materials, glass, and styles. Precise measurement is the foundation everything else rests on.
  2. Manufacturing lead time. Most replacements are built to order for your exact openings. Expect a wait of several weeks between signing and installation day. A contractor who gives you a realistic window is doing you a favor.
  3. Day-of preparation. The crew lays drop cloths, moves or covers furniture near the windows, and sets up a work path. You will want clear access to each window, inside and out.
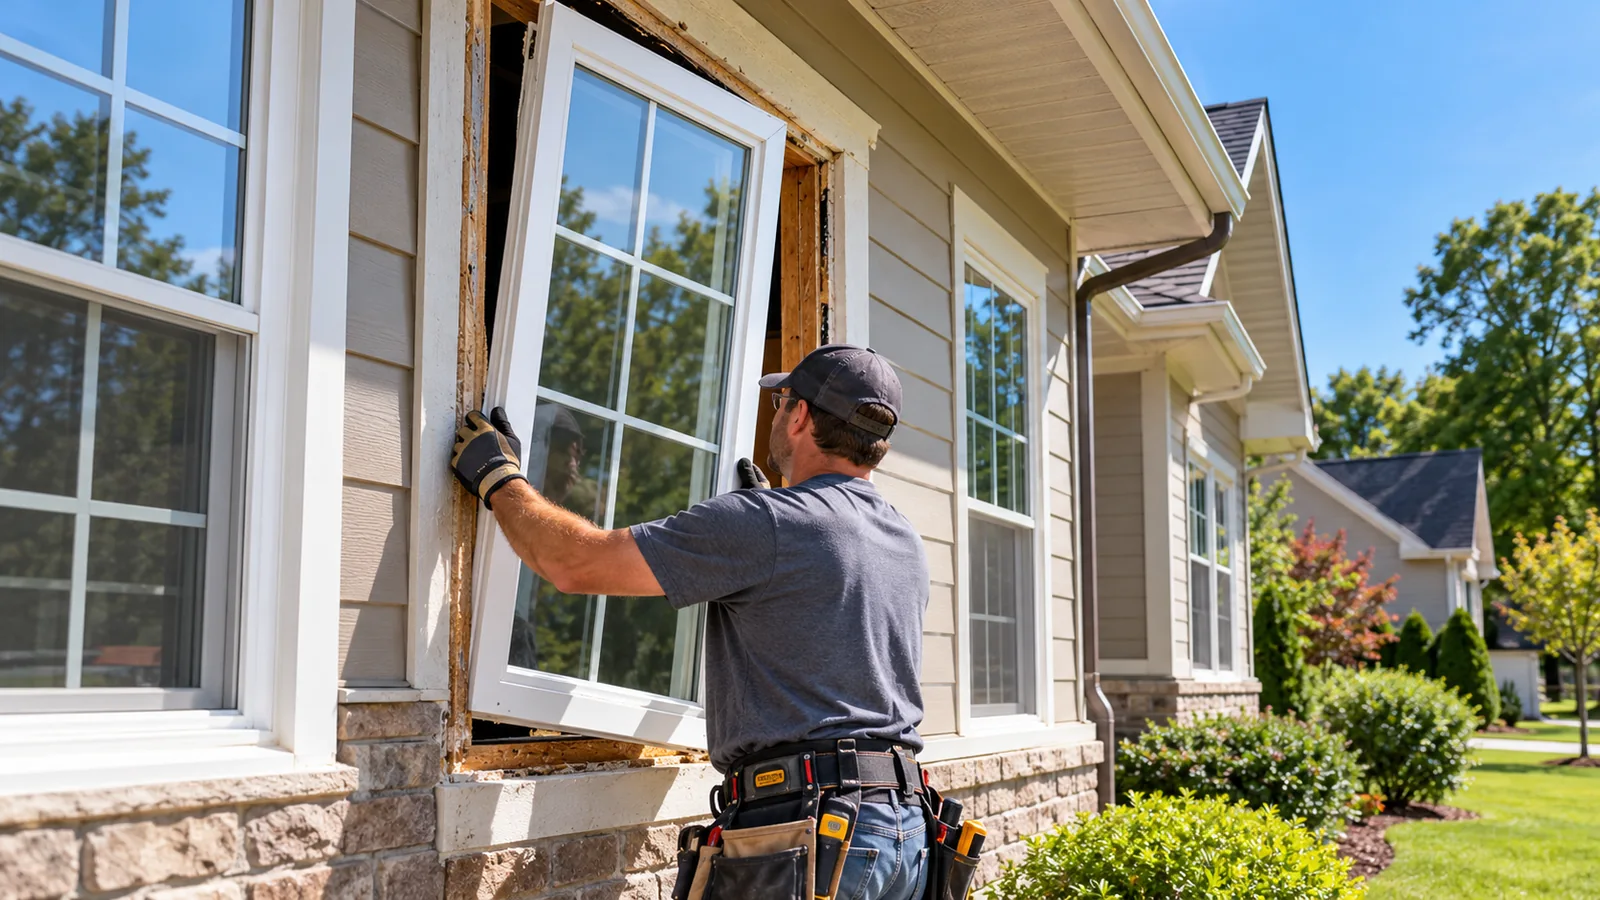
  4. Removal. Old sashes come out first, then frames in a full-frame job. The crew inspects each opening for rot or damage and addresses it before proceeding.
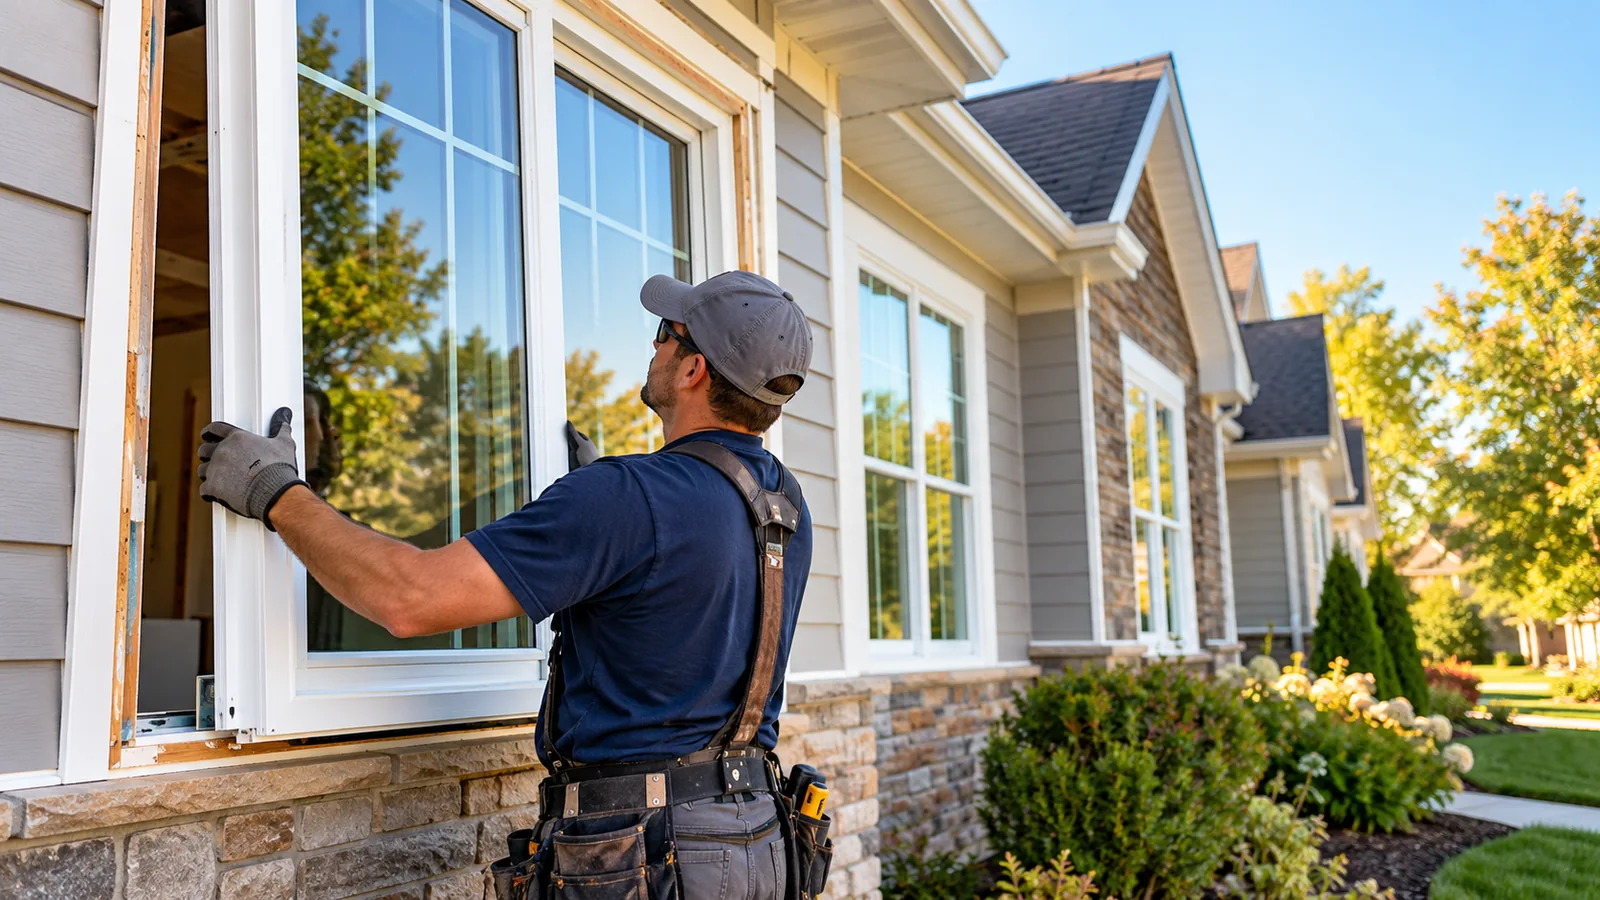
  5. Setting the new unit. Each window is set level, plumb, and square, then insulated, flashed, and sealed into the opening. This is the step where craftsmanship shows. A rushed crew and a careful crew look identical until the first hard rain.
  6. Trim, sealing, and walkthrough. Interior and exterior trim goes on, caulk lines are tooled clean, and the crew cleans each work area. Walk every window with the crew leader before they leave: open and lock each one, check the sight lines, and look at the exterior sealing.

Most homes finish in one to two days. Full-frame projects, large window counts, and second-story work extend that. A reputable crew protects your floors, keeps the site orderly, and leaves each room clean before moving to the next. You can read more detail on professional window installation and what separates careful work from rushed work.

Small decisions that lead to expensive problems

Most window regrets trace back to a short list of avoidable missteps.

Measurement errors top the list. Windows built even slightly off get forced into openings they do not fit, and that shortcut announces itself later as drafts, sticking sashes, or stress cracks. There is no field fix for a wrong-sized window, which is why the lowest bidder’s tape measure deserves the same scrutiny as their price.

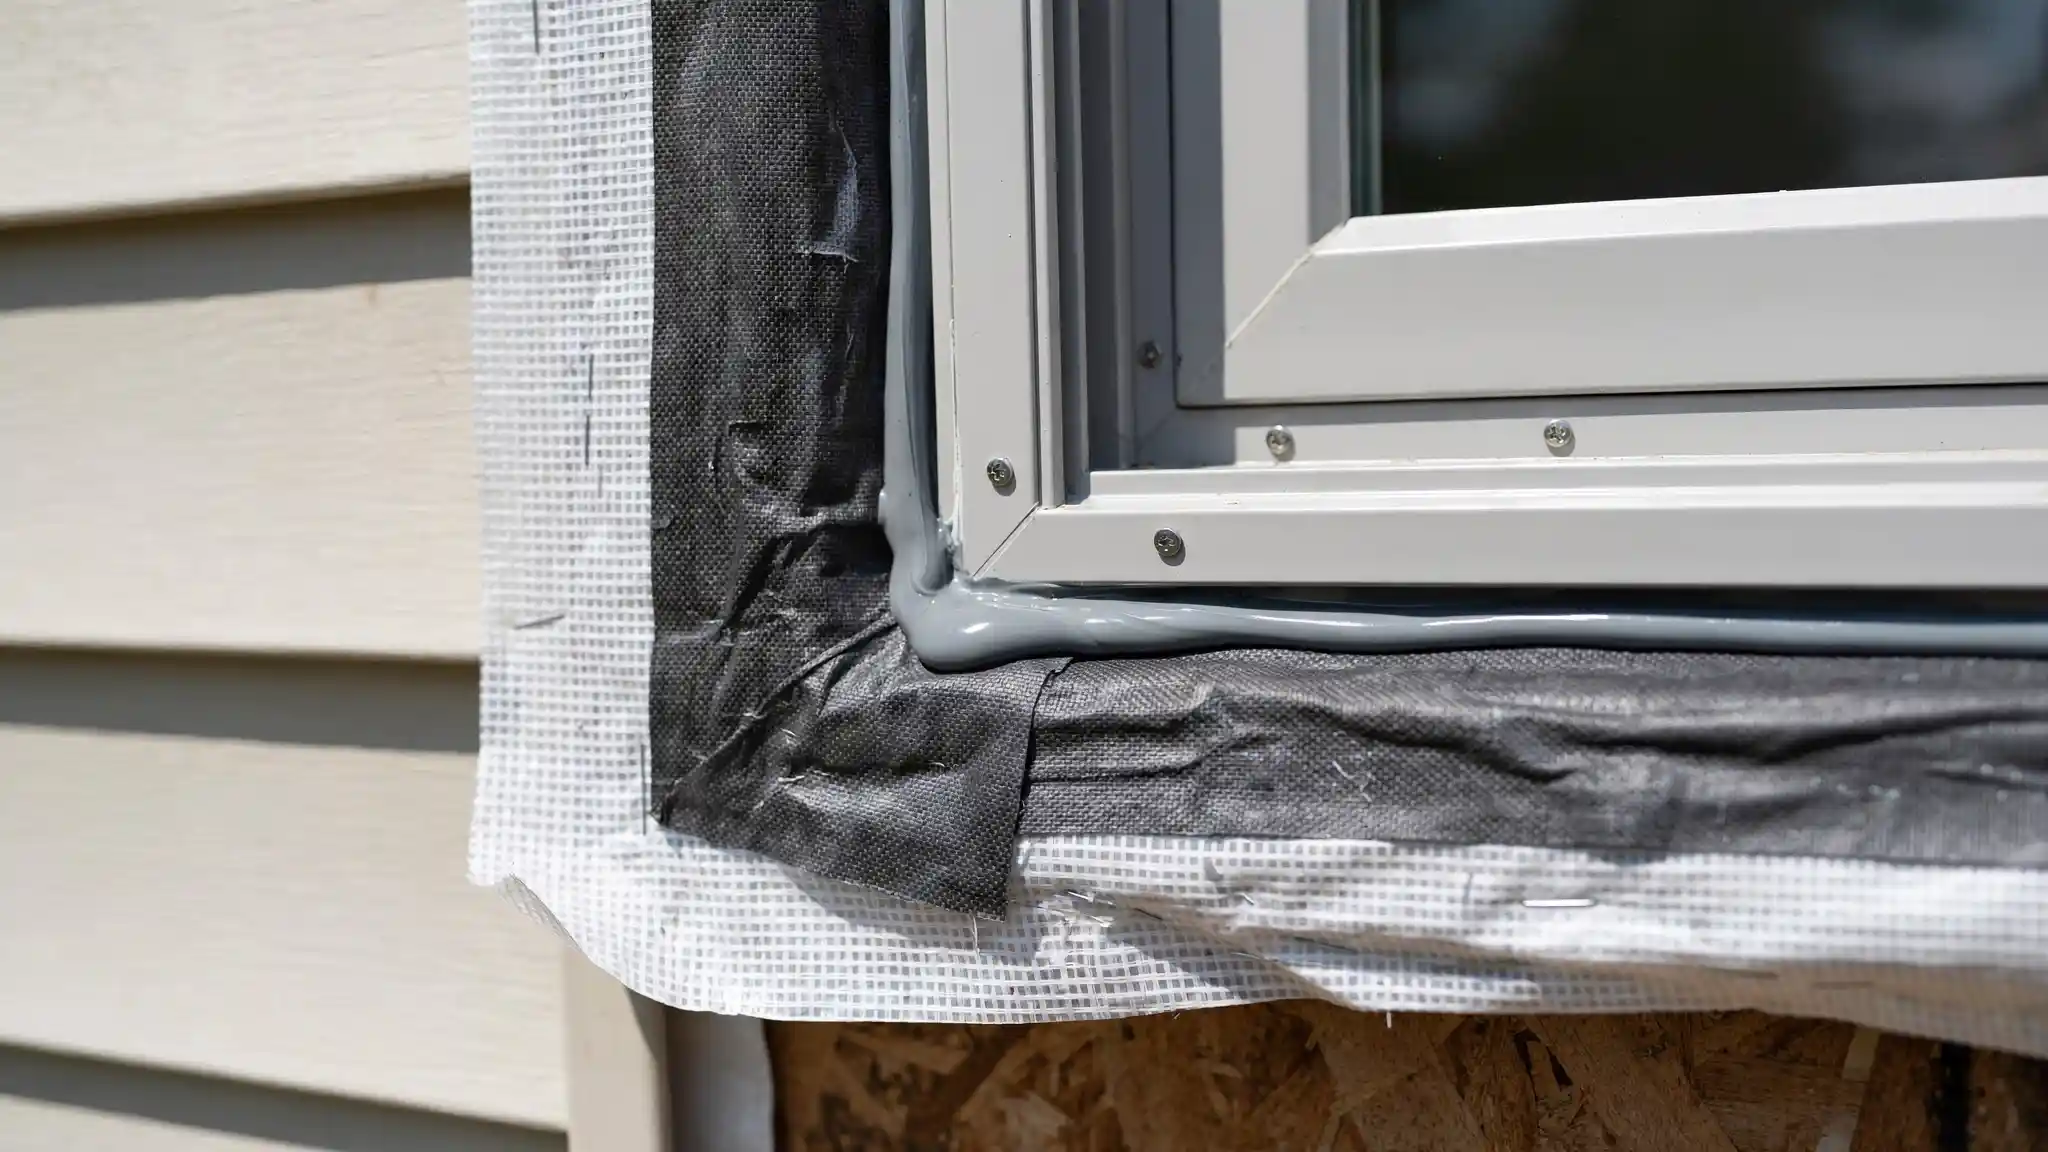
Skipping the water-management details runs a close second. Flashing tape, sill pans, and proper integration with the house wrap disappear behind trim the day they are installed, which is exactly why hurried crews skip them. In a climate with wind-driven rain, those invisible layers are the whole difference between a window that sheds water for decades and a wall cavity that quietly rots. Ask your contractor to describe their flashing approach. A clear, specific answer is a good sign. A vague one is not.

Close-up of window flashing tape and caulking detail around a new window frame

Choosing on price alone rounds out the usual mistakes. Beyond the missing line items discussed earlier, rock-bottom bids sometimes signal uninsured labor or subcontracted crews the salesperson never mentioned. Verify licensing and insurance yourself rather than taking it on faith. Read reviews with an eye for how the company handles problems, since every contractor eventually faces one, and the measure of a company is what happens next.

Two paperwork points close the list. Manufacturer warranties and labor warranties are separate documents covering different things, so get both in writing and understand what each excludes. And permits, where your municipality requires them, are the contractor’s responsibility to identify and pull, not a detail to discover after the fact. Our frequently asked questions page covers several of these points if you want to research before you call anyone.

Choosing a contractor you won’t regret

Comparing contractors gets easier with a consistent set of questions asked of every bidder. Start with experience doing this specific work. A company that installs windows every week has solved problems a general remodeler sees twice a year. Ask how long they have focused on windows, and ask for local references you can actually contact.

Ask who will do the work. Some companies sell the job and hand it to subcontracted crews. Others keep installation in-house with their own trained teams. Neither arrangement is automatically bad, but you deserve to know which one you are buying, and the warranty should be just as strong either way. Lane’s Contracting, for example, completes projects with its own crews rather than subcontractors, which keeps accountability in one place from estimate to final walkthrough.

Homeowner shaking hands with a window contractor in front of a suburban home

Verify the fundamentals yourself. Licensing and insurance are not paperwork formalities. They protect you if a worker is hurt on your property or if something goes wrong with the installation. Then read recent reviews the way a detective would: look for patterns in how the company communicates, keeps its schedule, and handles the inevitable surprise. A 4.9-star rating across more than 270 Google reviews, which Lane’s holds, tells a steadier story than any single glowing testimonial.

Warranties deserve a direct conversation before you sign. Find out what the manufacturer covers on frames, glass seals, and hardware, and separately what the installer covers on labor and leaks. Get both in writing, with durations stated plainly. Reading customer reviews and learning about the company behind the quote will round out the picture. Family-owned since 2005 and based in Smithfield, Lane’s has served Triangle homeowners for two decades as a GAF Master Elite contractor, a track record you can check rather than a promise you take on faith.

Questions homeowners ask before booking

How long does window replacement take?

The installation itself usually takes one to two days for a typical home. That does not include manufacturing lead time, which runs several weeks since most windows are built to your exact measurements. When a contractor gives you a timeline, make sure it covers order to completion, not just the days the crew will be on site.

What time of year is best?

Mild spring and fall weather make the work pleasant, but there is no bad season for window replacement. Crews replace windows one opening at a time, so your home is never left exposed. Winter installations are common and perfectly fine, and slower seasons can mean shorter lead times.

Do I need a permit in North Carolina?

It depends on your municipality and the scope of work. Like-for-like retrofit replacements often do not require one, while full-frame work or changes to the size of an opening more commonly do. A local contractor should know the rules in your area and handle permitting as part of the project. If a bidder tells you permits never matter, that is a reason to keep interviewing.

Should I replace all of my windows at once?

Doing the whole house at once usually lowers the per-window cost and gives you consistent appearance and performance. That said, phasing the project is a reasonable strategy when the budget requires it. Start with the worst offenders: the fogged, rotted, and drafty ones. If you phase, keep a record of the exact product line, color, and glass package so later phases match the first.

Planning your next step

You now know what failing windows look like, how to tell repair from replacement, what the labels mean, what drives cost, and how to vet the people doing the work. The logical next move is a professional assessment, not a purchase. A good consultation should leave you with exact measurements, product options at more than one price point, and a written, itemized quote you can compare against others.

Bring the questions this guide raised. Ask about flashing details, who does the installation, what each warranty covers, and how the timeline works from order to completion. Straight answers to those questions tell you most of what you need to know about a contractor.

When you are ready, request a free estimate from Lane’s Contracting. There is no obligation in getting an expert set of eyes on your windows, and it is the fastest way to replace uncertainty with a plan. We serve homeowners across our North Carolina service areas, reachable at (919) 631-6112. If your project might grow beyond windows, see how new siding and windows work together on a larger exterior upgrade.

The post The Complete Guide to Window Replacement in North Carolina appeared first on Lanes Contracting.


source https://lanescontracting.com/window-replacement-guide/

James Hardie Siding vs Vinyl Siding: Which Is Better for Your Home?

Comparing James Hardie siding vs vinyl siding starts with the appearance you want, your project budget, and the maintenance you are willing to handle. James Hardie fiber cement offers a painted exterior and noncombustible cladding. Vinyl generally costs less upfront and does not require routine repainting. Both need proper installation to protect the wall behind them.

For North Carolina homeowners, the decision also involves rain exposure, summer heat, and the condition of the existing exterior. A siding sample cannot tell you whether your window flashing leaks or the sheathing underneath needs repair.

Compare the complete project before choosing a material. The right choice should fit your home now and remain practical after the installation crew leaves.

James Hardie Siding vs Vinyl Siding at a Glance

James Hardie is a brand of fiber cement siding. Vinyl siding is a material category sold by many manufacturers. That distinction matters because comparing a named Hardie product with unspecified vinyl leaves out differences in panel design, finish, accessories, and warranty coverage.

Use this table to identify your priorities, then request quotes for specific products.

Decision factor James Hardie fiber cement siding Vinyl siding
Upfront budget Generally costs more than standard vinyl Usually the lower initial investment
Finished appearance Painted surface with lap, panel, and shingle options Molded profiles and factory colors that vary by product line
Painting Available primed or factory finished; future repainting may be needed Routine repainting is generally unnecessary
Fire behavior Noncombustible cladding; coatings can still be damaged Can soften or melt under sufficient heat
Water management Requires correct flashing, clearances, and drainage Requires correct flashing, a water barrier, and drainage
Insulation Evaluate insulation separately from the siding Insulated vinyl products are available
Best starting point Appearance, paint flexibility, and noncombustibility Affordability and avoiding a repainting cycle

These are material-level differences. They do not establish which product will perform best on a particular house. Manufacturer specifications and the proposed wall assembly should guide that decision.

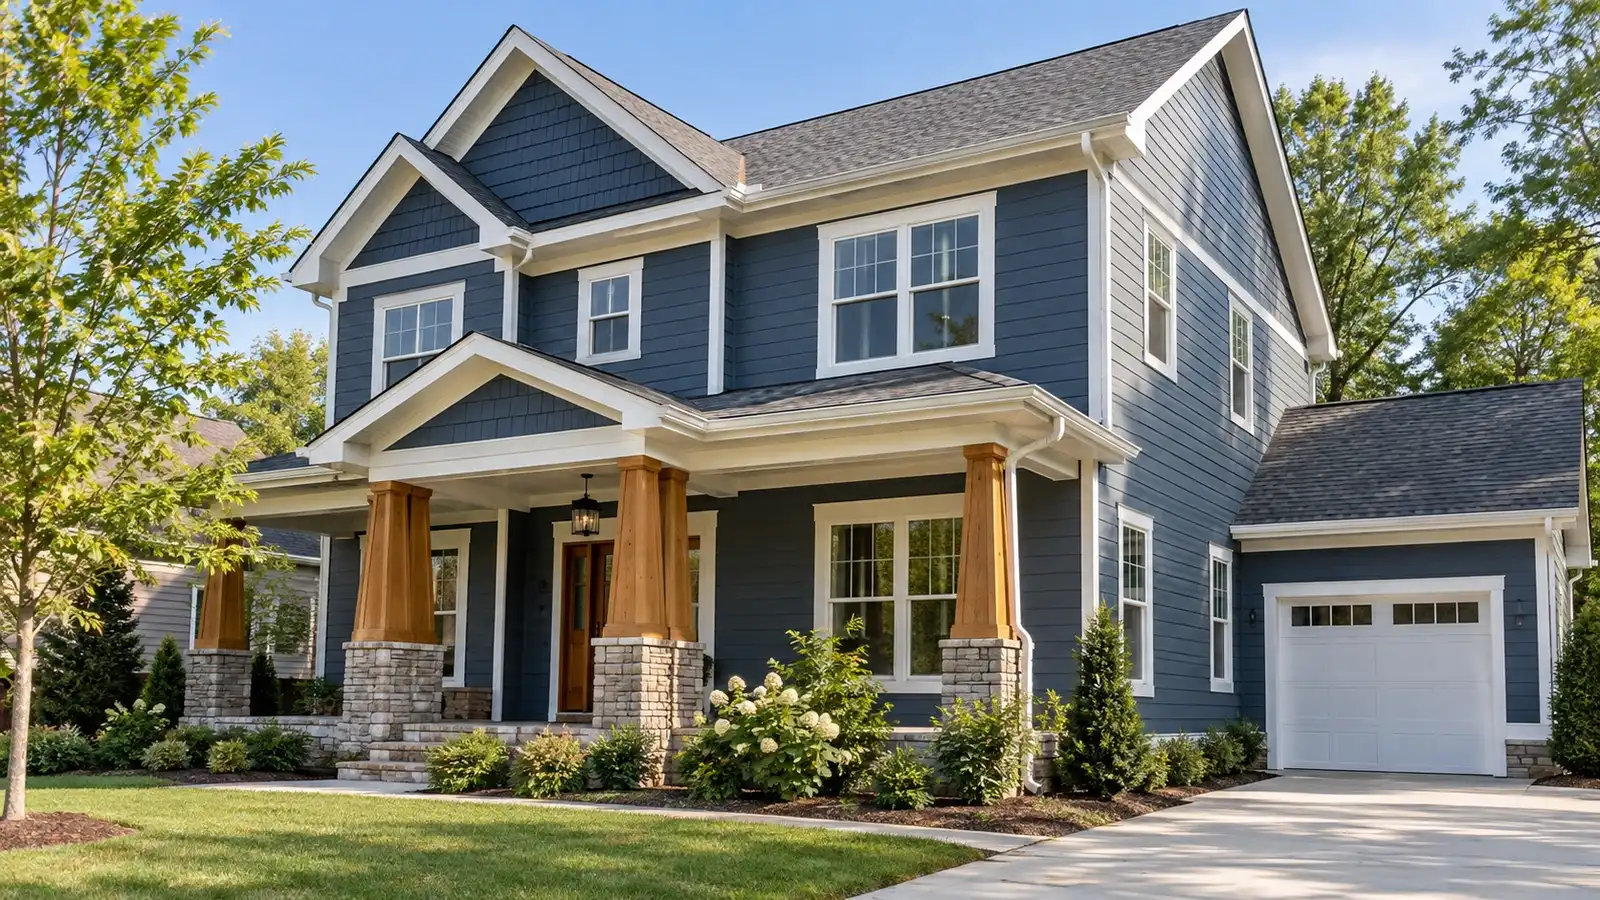
Blue home with horizontal lap siding, shingle-style gables, white trim and wood porch columns.

How the Materials Change Your Home’s Appearance

What James Hardie fiber cement offers

Fiber cement combines cement, sand, water, and cellulose fibers. James Hardie uses its own formulation and offers several siding profiles, including horizontal lap boards, vertical panels, and shingle-style products. Depending on the product, the surface may have a smooth or textured finish.

The installed appearance depends on more than texture. Board exposure, corner details, window trim, and the placement of transitions all affect the finished elevation. A narrow lap profile creates a different rhythm from wide boards or vertical panels.

Homeowners considering James Hardie siding should ask to see complete projects with similar architecture. A sample is useful for color, but it does not show how the material works around a porch, bay window, or garage.

What vinyl siding offers

Vinyl is primarily made from polyvinyl chloride, commonly called PVC. Product lines include different horizontal profiles and vertical board-and-batten designs. Conventional vinyl and insulated vinyl should be treated as separate options when comparing features and prices.

Do not judge every vinyl product by the appearance of an older, inexpensive installation. Compare the specific profile, surface texture, visible seams, and matching trim included in your estimate.

When reviewing vinyl siding installation options, request a sample large enough to show the profile. Ask how seams will be positioned on the front of the house and other prominent walls.

Choose colors beside the materials that will remain

Take samples outside and place them near your roof, brick, stone, and window frames. Look at them in sunlight and shade. A gray that appears neutral indoors may look blue beside warm brick.

Consider how much of the exterior you are changing. Keeping existing trim can limit which siding colors work well. Replacing trim creates more options but adds work to the estimate. Review any neighborhood architectural requirements before materials are ordered.

What Changes the Cost of a Siding Project?

Standard vinyl siding generally has a lower installed cost than fiber cement. However, product selection, removal work, labor, wall condition, and detailing can change the difference substantially. James Hardie’s own pricing guidance directs homeowners toward a local project quote because there is no universal price for its siding.

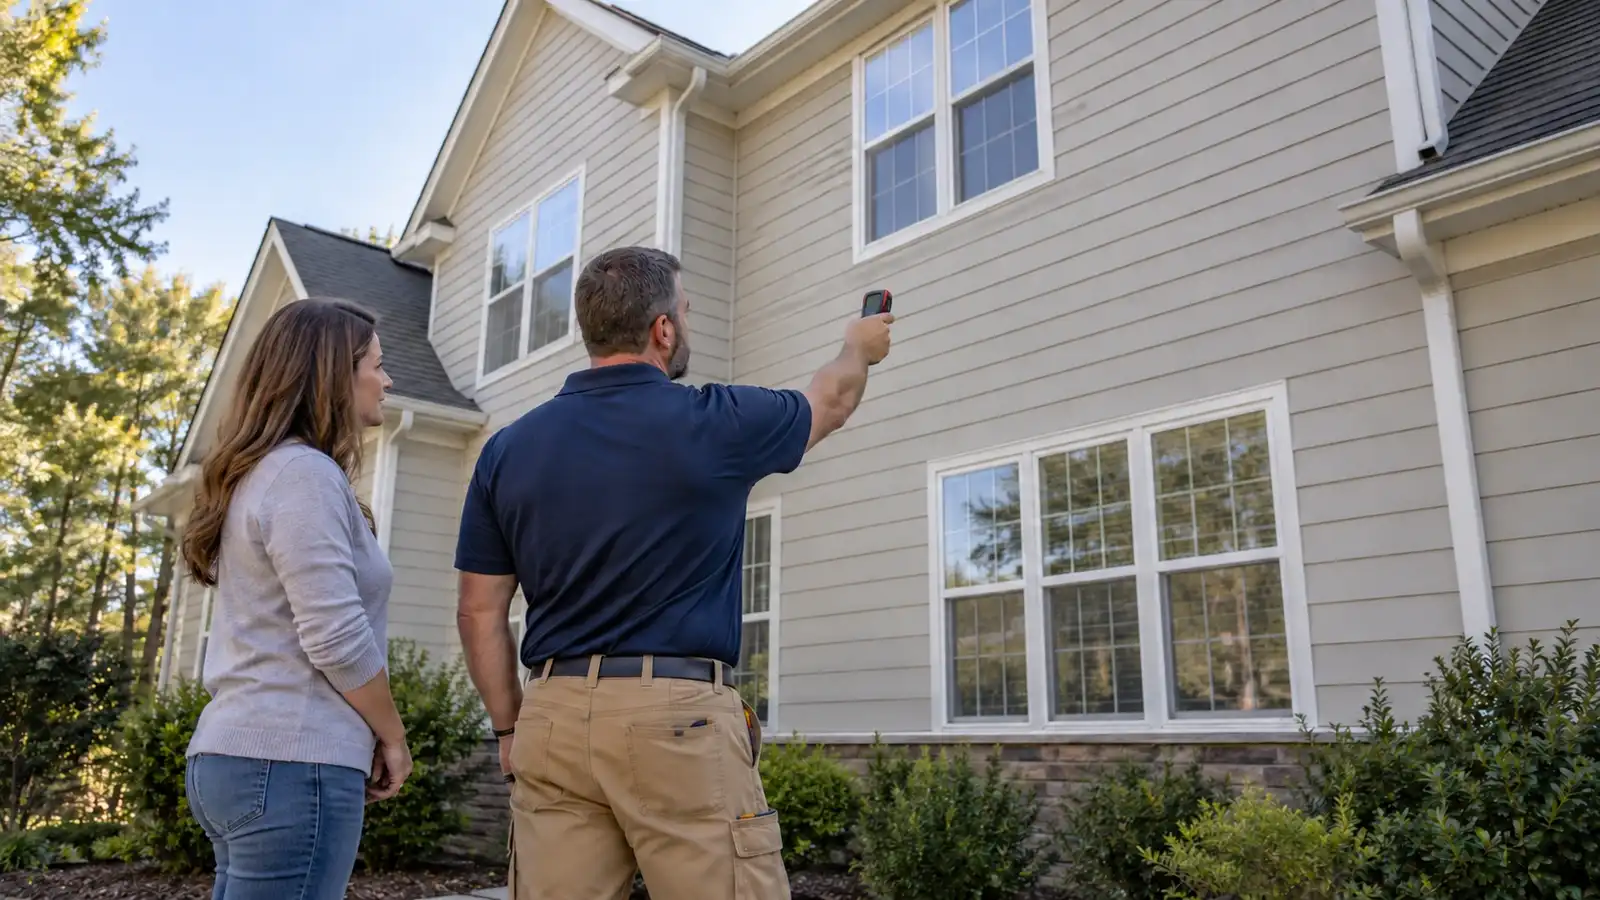
Contractor using a handheld measuring tool beside a beige house while a homeowner watches.

A useful comparison starts with the same scope of work. A vinyl quote that includes sheathing repairs and new trim cannot be fairly compared with a fiber cement quote that leaves those items out.

Ask for the same project in both materials

Request separate estimates based on the same measured exterior and agreed preparation. Each should identify:

  • The manufacturer, product line, profile, and finish.
  • Which existing siding and trim will be removed.
  • The proposed water barrier and flashing work.
  • How concealed damage will be documented and priced.
  • The trim, soffit, fascia, and accessories included.
  • Any insulation, painting, or window-related work.
  • Debris removal, cleanup, and workmanship coverage.

This makes the material upgrade easier to understand. You can see what changes when you choose Hardie instead of vinyl, while keeping necessary wall repairs visible in both proposals.

Measure the exterior being covered

Your home’s interior floor area is not its siding area. Wall height, gables, additions, openings, and architectural details affect material quantities and labor. A simple rectangular house and a house with several dormers may have similar living space but very different siding projects.

Ask the contractor how the estimate accounts for windows, doors, cuts, and waste. You do not need to calculate every board yourself. You do need a clear explanation of what the quoted amount covers.

Keep optional upgrades separate from necessary repairs

Imagine two estimates for the same house. One includes removing damaged sheathing around a window; the other lists only new panels. The lower total may reflect missing work, rather than a more affordable material.

Have necessary repairs listed first. Then compare optional items such as decorative gable accents, a different trim package, or added insulation. This makes it easier to adjust the design without sacrificing repairs that the wall needs.

If payment timing affects your plans, review Lane’s Contracting’s project financing options and request the current terms. Keep the full project price visible when comparing payment arrangements.

Include the upkeep you expect to pay for

The installation invoice is only one part of ownership cost. Consider cleaning access, finish maintenance, and the practical cost of repairing an isolated section. Compare those obligations over the period you expect to own the home.

A homeowner who hires help for all exterior maintenance may evaluate future painting differently from someone comfortable arranging or completing that work. Avoid turning either situation into a guaranteed savings calculation. Instead, identify which costs are reasonably foreseeable and which remain uncertain. Ask what upkeep the contractor recommends for each proposed product and retain that information with the estimates.

Rain and Humidity: Look Behind the Siding

Neither fiber cement nor vinyl should be treated as a waterproof wall. Siding sheds much of the rain, but water can still reach the layers behind it through joints, openings, and other details. A water-resistive barrier and properly integrated flashing provide a path for that water to drain outward.

This is why replacing the visible material alone may not solve a recurring leak.

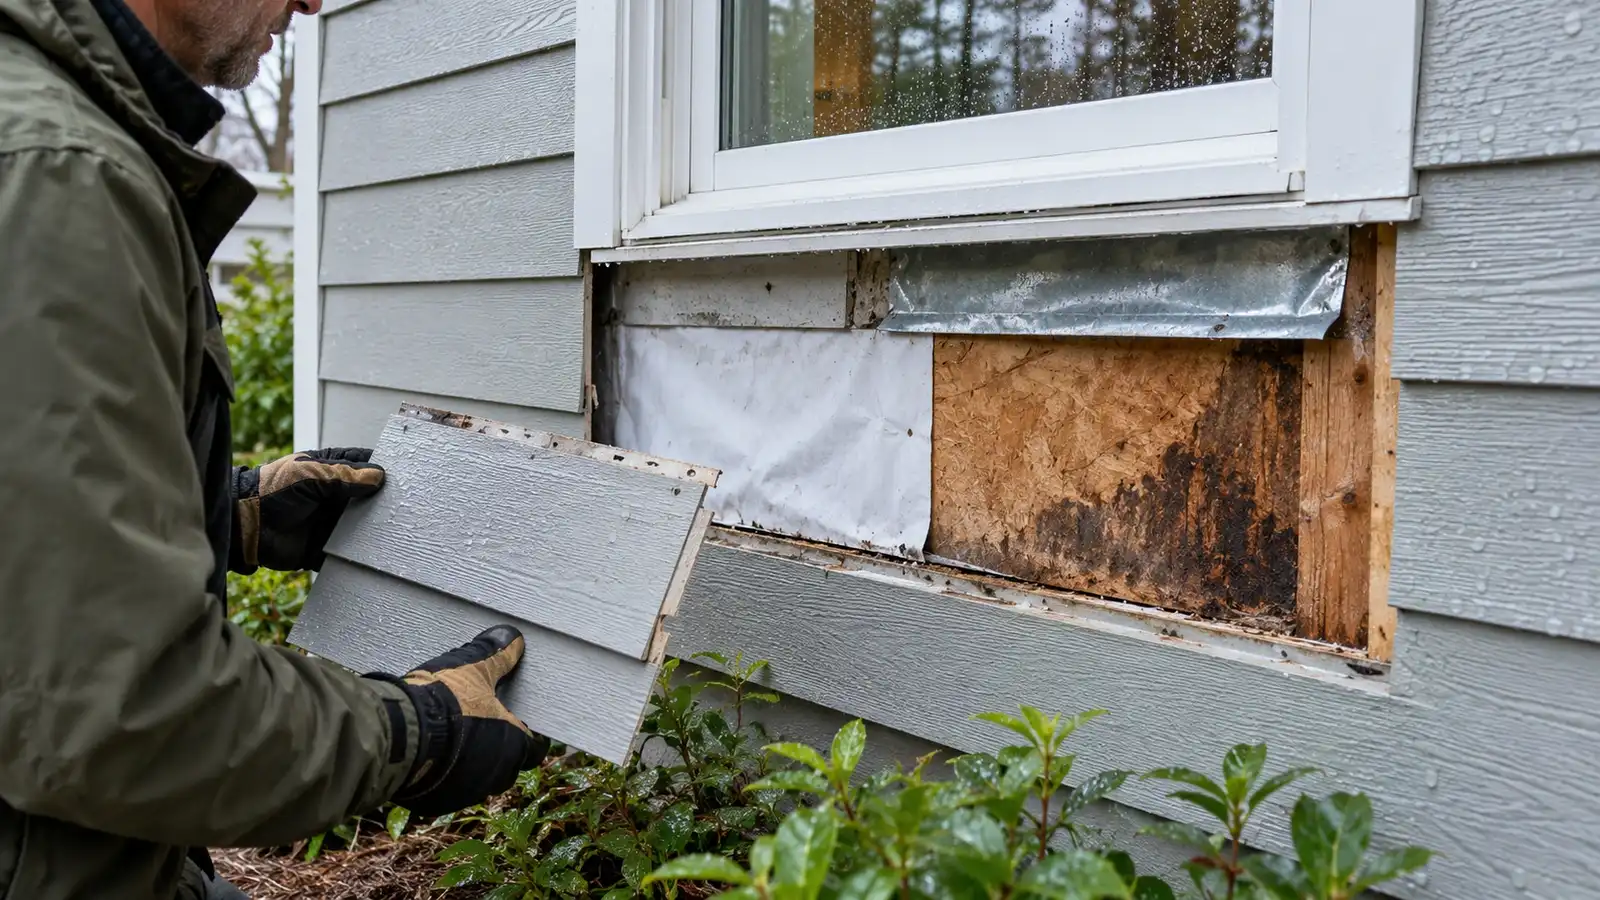
Contractor inspecting moisture-stained sheathing and exposed flashing beneath a window.

Separate surface resistance from wall protection

James Hardie designs its fiber cement products to resist moisture damage, and its climate-specific product guidance addresses different exposure conditions. That does not remove the need for correct installation. Confirm the product and instructions appropriate to the project location.

Vinyl does not decay like wood, but moisture can still damage wood sheathing and framing behind it. CertainTeed explicitly explains that vinyl siding is not watertight and calls for a weather-resistant barrier and flashing around windows and doors.

The useful question is therefore broader than “Which siding resists water?” Ask how the proposed wall will shed, drain, and dry after rain.

Investigate repeated trouble spots

Tell the contractor about stains below windows, recurring interior dampness, gutter overflow, or previous repairs. Photographs taken during rain may help identify where water travels.

Consider a hypothetical wall beside a porch roof. If roof runoff repeatedly enters the same corner, changing the siding material may leave the original problem unresolved. The estimate should address the water entry point and any damaged materials before the new exterior is installed.

A siding replacement assessment should distinguish what is visible before removal from what can only be confirmed after the wall is opened. Ask how unexpected findings will be photographed, explained, and approved.

That conversation makes both material options easier to evaluate. You are comparing two ways to finish a repaired wall, with a clear plan for handling the conditions underneath.

Do not seal every visible gap

Some gaps are intentional parts of the drainage system. James Hardie’s installation details, for example, identify locations above flashing that must remain uncaulked. Closing a drainage opening can interfere with the route intended for water to escape.

For a homeowner, the practical lesson is to request an explanation before treating every opening as a defect. Ask the installer to point out the joints that need sealant maintenance and the openings that must stay clear. This makes future maintenance more accurate and helps prevent a well-intended repair from creating a new problem.

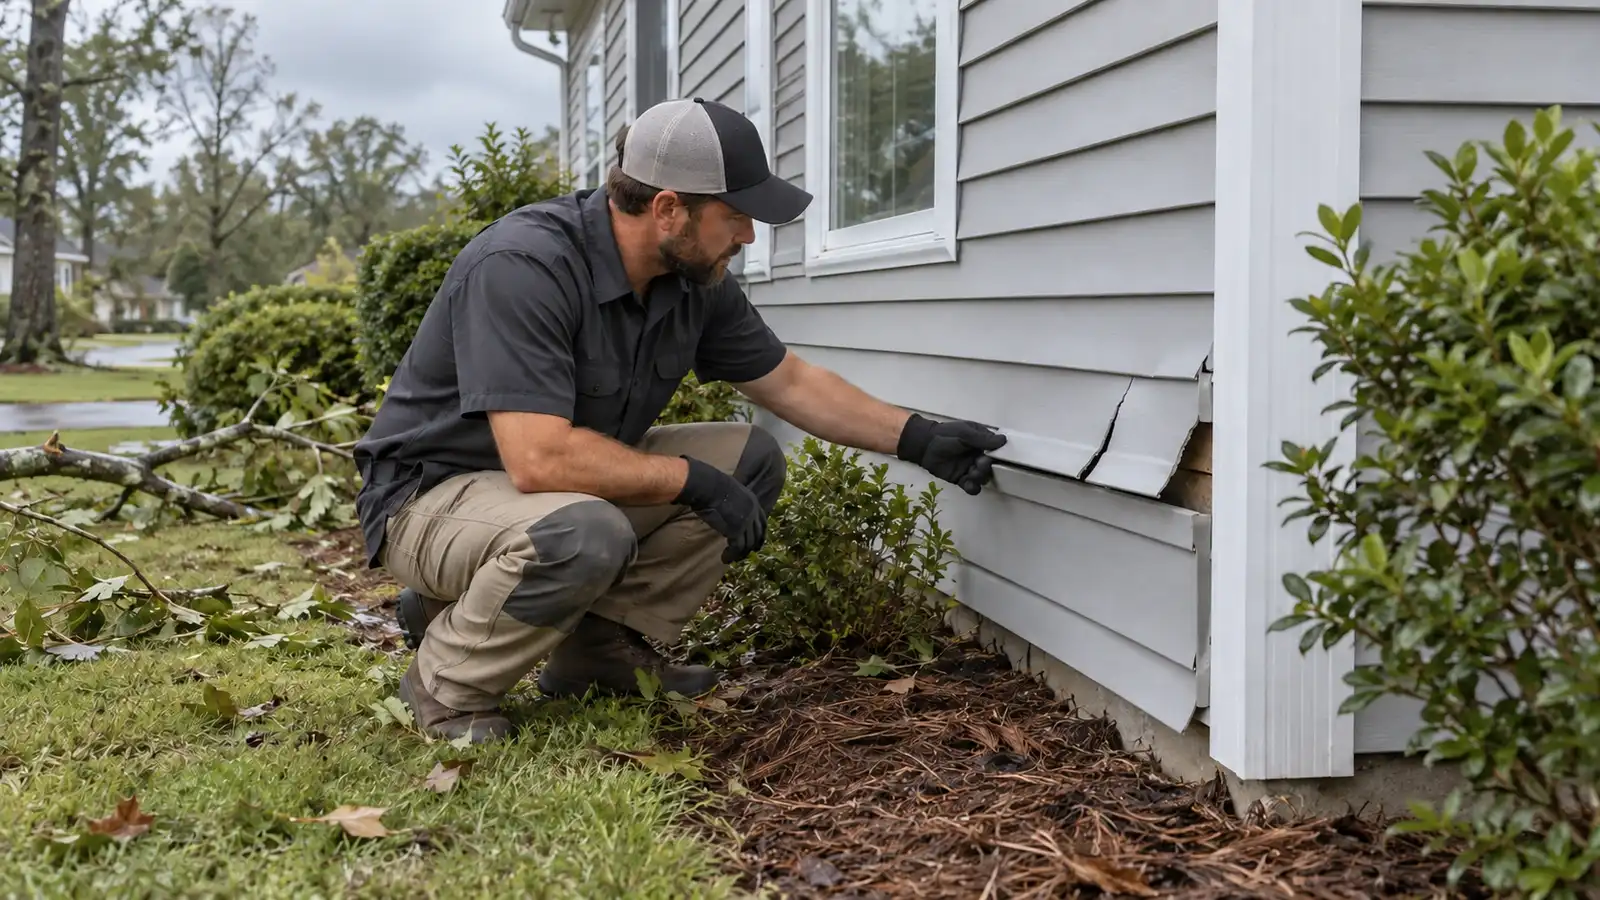
Contractor examining cracked and loose siding near a house corner with fallen branches nearby.

What Wind, Impact, and Heat Mean for Each Option

Wind performance depends on the specified installation

A material name alone does not establish wind resistance. The selected product, fasteners, backing, building conditions, and installation details work together.

The Vinyl Siding Institute explains that certified vinyl siding is tested for wind resistance and that its installation must support the stated rating. James Hardie likewise requires fastening appropriate to the product and project conditions. Ask your contractor to identify the applicable product documentation instead of relying on a broad “stormproof” claim.

For an exposed property, ask how the specification accounts for that exposure. Avoid comparing headline wind-speed figures from different products without understanding the conditions behind them.

Impact resistance is different from strength in wind

Wind resistance and resistance to a direct impact are different questions. A product can be securely attached and still suffer damage when struck by debris.

Neither option should be considered immune to impact. Ask what documentation is available for the exact product and what repairs would involve if a panel or board were damaged. Discuss everyday exposure too, including nearby play areas, lawn equipment, and branches.

This is a better basis for comparison than assuming the heavier material must win every durability test. If impact damage is a major concern, make it a specific requirement when requesting recommendations.

Fiber cement has a clear noncombustibility advantage

James Hardie identifies its siding as noncombustible under ASTM E136. The manufacturer also explains that paints and coatings can be damaged or char when exposed to flame. Noncombustible siding does not make the entire house fireproof.

Vinyl can soften or melt under sufficient heat. Concentrated sunlight reflected from nearby windows can cause distortion under particular conditions, although this does not affect every vinyl installation. A wall with a history of heat distortion deserves investigation before the same product is installed again.

Ask about the wall’s actual exposure, including nearby heat sources and reflected sunlight. The answer may affect material selection for that part of the home.

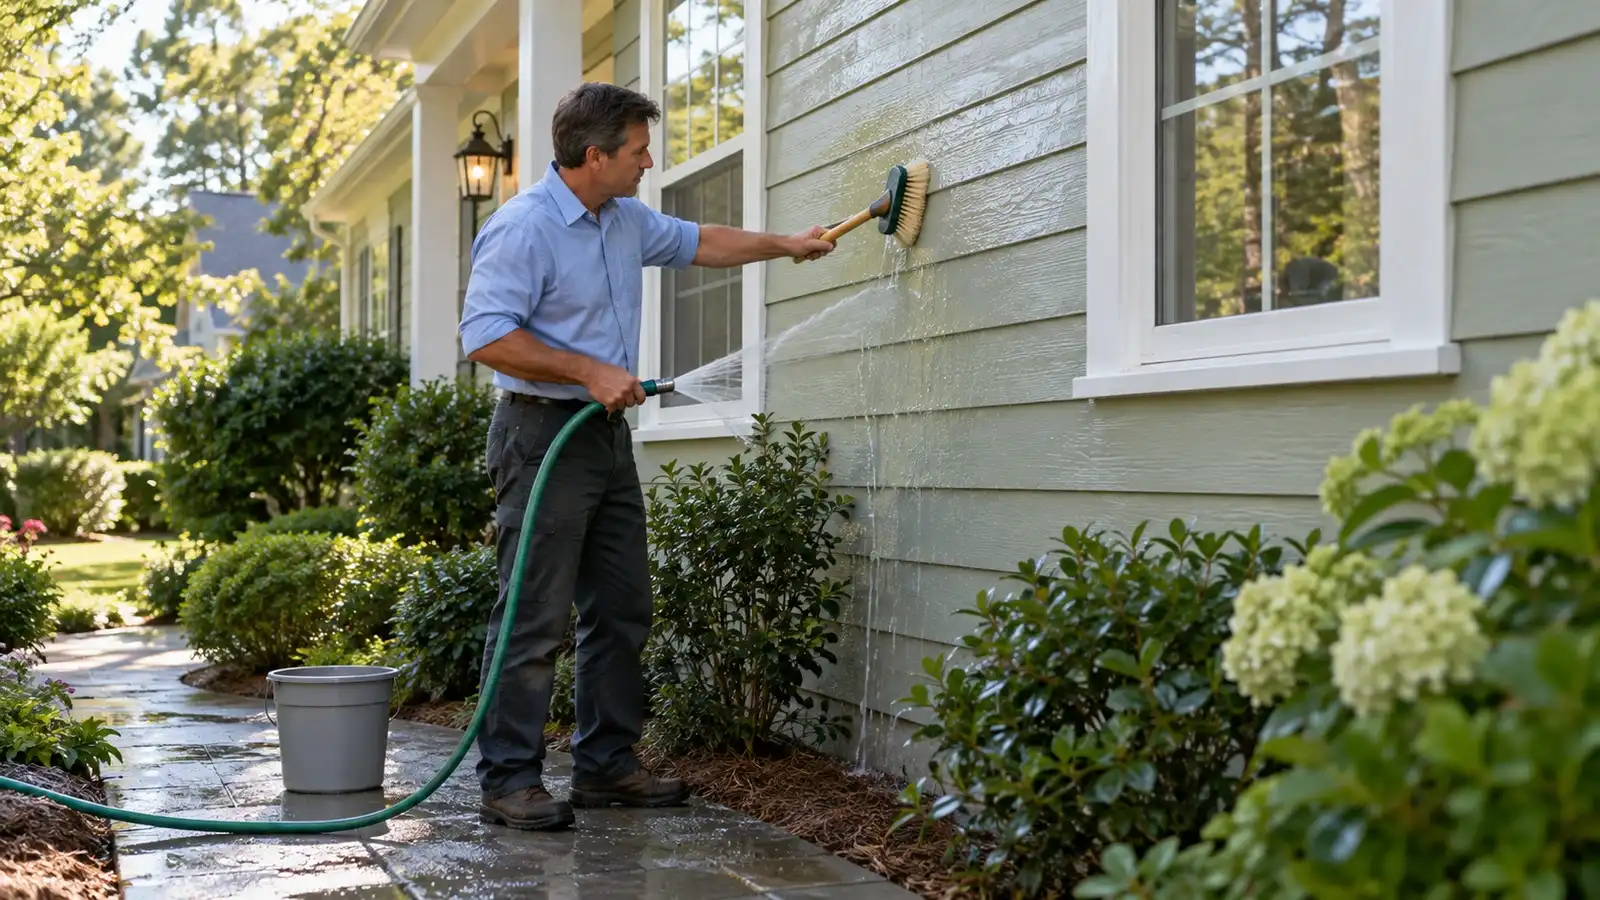
Homeowner cleaning pale green siding with a soft brush and a gentle garden-hose spray.

The Maintenance You Will Actually Need to Plan For

Cleaning is part of owning either material

Low maintenance still includes cleaning. James Hardie recommends cleaning its siding approximately every six to twelve months with a garden hose and a suitable soft brush. Its guidance warns that high-pressure washing can damage the surface.

CertainTeed also recommends gentle cleaning for vinyl and advises against power washing because it can cause damage, discoloration, or moisture intrusion. Follow the care instructions for your particular product rather than assuming one cleaning method suits every exterior.

Think about access before selecting a finish. A shaded wall above a porch may require a different cleaning plan from a wall reachable from the ground. Ask how the difficult areas of your home can be maintained.

Painting creates a meaningful difference

Vinyl’s main maintenance advantage is avoiding routine repainting. With fiber cement, distinguish factory-finished ColorPlus products from primed boards that receive paint after installation. James Hardie confirms that its siding is paintable and offers dedicated touch-up products for its factory finish.

Future painting needs depend on the finish and its condition. A finish warranty is not a promise that every exterior will need repainting on the same anniversary.

If you like changing exterior colors, fiber cement’s paintable surface may appeal to you. If arranging future painting is something you want to avoid, give vinyl more weight in the decision.

Make repair planning part of the purchase

Ask how a damaged section would be replaced and whether matching profiles, colors, and accessories are readily available. Request written product details and discuss whether keeping spare material is sensible.

Also ask what the contractor will investigate before replacing a damaged piece. A repair caused by an isolated impact is different from one caused by repeated water entry or an installation problem.

For localized damage, a professional siding repair evaluation can help determine whether a targeted repair is practical before you commit to replacing an entire elevation.

Energy Efficiency Depends on the Wall Assembly

Do not assume that heavier siding automatically provides better insulation. Your wall’s thermal performance depends on the insulation, framing, and air-control details as well as the exterior covering.

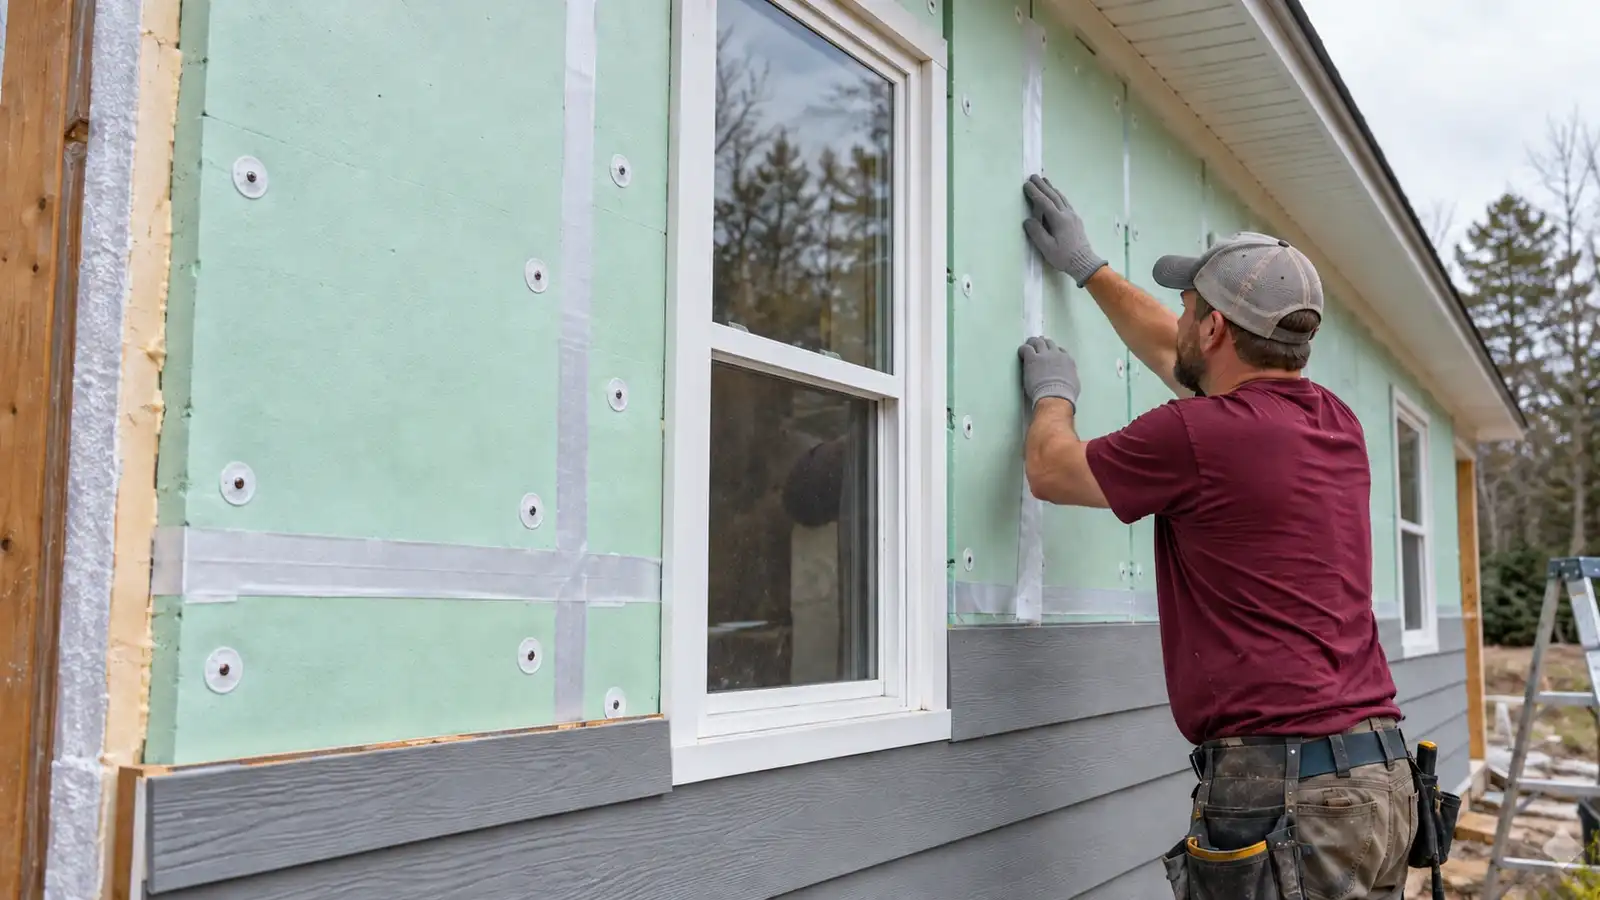
Installer pressing tape over an exterior insulation seam beside a window above partially installed siding.

Compare standard vinyl with insulated vinyl correctly

Insulated vinyl includes a layer of rigid foam attached to the siding. The U.S. Department of Energy explains that this can reduce thermal bridging, which is heat transfer through framing that bypasses insulation between the studs. It is a different product from conventional hollow-back vinyl siding.

Ask for the documented R-value of the proposed product. R-value describes resistance to heat flow. A product-level rating does not, by itself, predict the energy savings for your particular home.

Consider insulation separately with fiber cement

Fiber cement can be part of a wall assembly that includes continuous exterior insulation. DOE describes exterior rigid insulation as a way to add thermal resistance and reduce heat transfer through framing. The contractor must plan compatible fastening, flashing, and opening details for the selected assembly.

This gives you a more useful comparison: fiber cement with the proposed insulation package versus the specified vinyl system. Comparing insulated vinyl with fiber cement installed without added insulation answers a different question from comparing the siding materials alone.

If comfort is a major reason for remodeling, ask where the current problems originate. Drafts around openings may need attention that new siding alone will not address. Homeowners already considering window replacement can discuss the sequence of both projects before either begins.

Request separate pricing for energy-related improvements. That helps you understand which work addresses comfort and which work changes appearance.

Installation Details That Deserve Your Attention

The installation proposal should explain what the crew will do before the first new board or panel goes up. Product selection matters, but preparation and detailing determine whether the finished exterior can perform as intended.

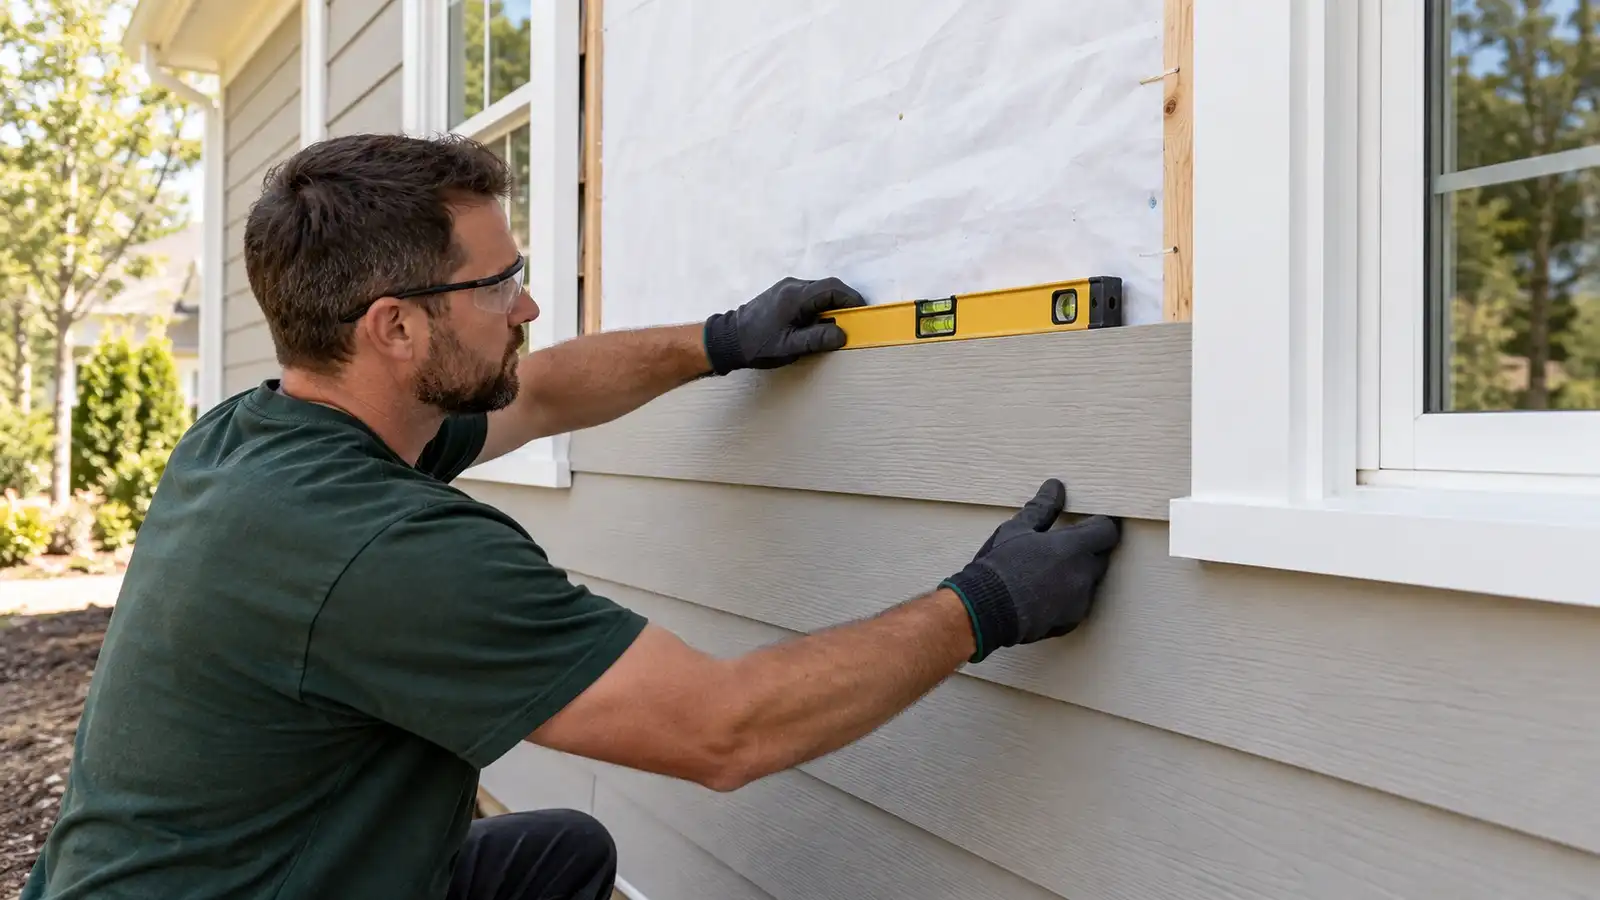
Installer checking a lap siding board with a spirit level beside white window trim.

What to ask about fiber cement installation

Ask which James Hardie instructions apply to the chosen product and location. Discuss material storage, handling, fastening, required clearances, and treatment of cut edges. The manufacturer’s installation guidance addresses these details because they affect the completed system.

You should also understand the cutting and cleanup plan. Ask where materials will be cut, how dust will be controlled, and how nearby windows, landscaping, and occupied areas will be protected.

These questions help you compare contractors’ working methods without trying to supervise every technical step yourself.

What to ask about vinyl installation

Vinyl must be able to move as temperatures change. CertainTeed emphasizes allowing expansion and contraction, positioning fasteners correctly, and avoiding fastening panels too tightly. A smooth, properly prepared surface also supports a better finished appearance.

Ask how the crew will handle corners, openings, the first course, and the final course. Confirm that the accessories are intended for the selected profile. A complete specification is more useful than a quote that simply says “install vinyl siding.”

Agree on a review process before work starts

For either material, request a plan for these stages:

  1. Review the existing exterior and identify known concerns.
  2. Remove the agreed materials and document concealed conditions.
  3. Complete approved repairs and water-management work.
  4. Install the specified siding and accessories.
  5. Inspect the work, clean the property, and provide product records.

Ask when you will receive updates and who can approve additional work. Request photographs of repairs and flashing before those areas are covered.

When comparing professional siding installation, review insurance documentation, any applicable licensing, relevant project examples, and the written scope. Lane’s Contracting’s customer testimonials provide another place to assess reported customer experiences alongside those project details.

Lifespan and Warranty Coverage Are Different Questions

Siding does not have a guaranteed replacement date simply because it belongs to a particular material category. Exposure, installation, maintenance, finish condition, and damage history all influence when repairs or replacement become necessary.

Treat broad lifespan claims cautiously. Ask what they assume about upkeep and what happens if the finish wears out while the siding underneath remains serviceable.

Separate Hardie’s siding warranty from its finish warranty

James Hardie currently describes its fiber cement siding coverage as a transferable, 30-year, non-prorated limited substrate warranty. The substrate is the siding material itself. Its ColorPlus finish has a separate 15-year limited warranty covering specified finish issues, including peeling, cracking, and chipping.

Those are different forms of protection. A substrate warranty does not promise that every part of the exterior, every installation detail, or every paint coating is covered for the same period.

Request the actual warranty documents for the products being supplied. Confirm the remedy, exclusions, claim process, and transfer requirements instead of relying only on the headline term.

“Non-prorated” addresses whether applicable coverage is reduced solely as the product ages. It does not eliminate the warranty’s conditions or expand it to every possible cause of damage. Compare the actual remedy as carefully as the duration. A longer headline term is less useful if you misunderstand which costs a covered claim would address.

Evaluate vinyl warranties by product line

Some vinyl products carry lifetime limited warranties. For example, CertainTeed lists that coverage for its Board & Batten vinyl siding. The word “lifetime” should prompt a closer review of the document, including whose ownership it refers to and what conditions apply.

Ask the following questions about either siding proposal:

  • What defects or failures are covered?
  • Are labor, removal, disposal, and replacement materials included?
  • Does coverage change over time or after a sale?
  • How are fading, impact damage, and heat exposure treated?
  • What installation and maintenance obligations apply?

Get the workmanship terms in writing

The installer’s promise is another part of the decision. Ask who handles problems involving installation and how that responsibility differs from a manufacturer’s product claim.

Keep your signed scope, invoices, product names, warranty documents, and project photographs together. Clear records make future maintenance, repairs, and questions about coverage easier to manage.

Which Material Fits Your Priorities and Ownership Plans?

The practical choice follows from the trade-offs above. Start with the features that matter most to your household, then see which complete proposal delivers them within your budget.

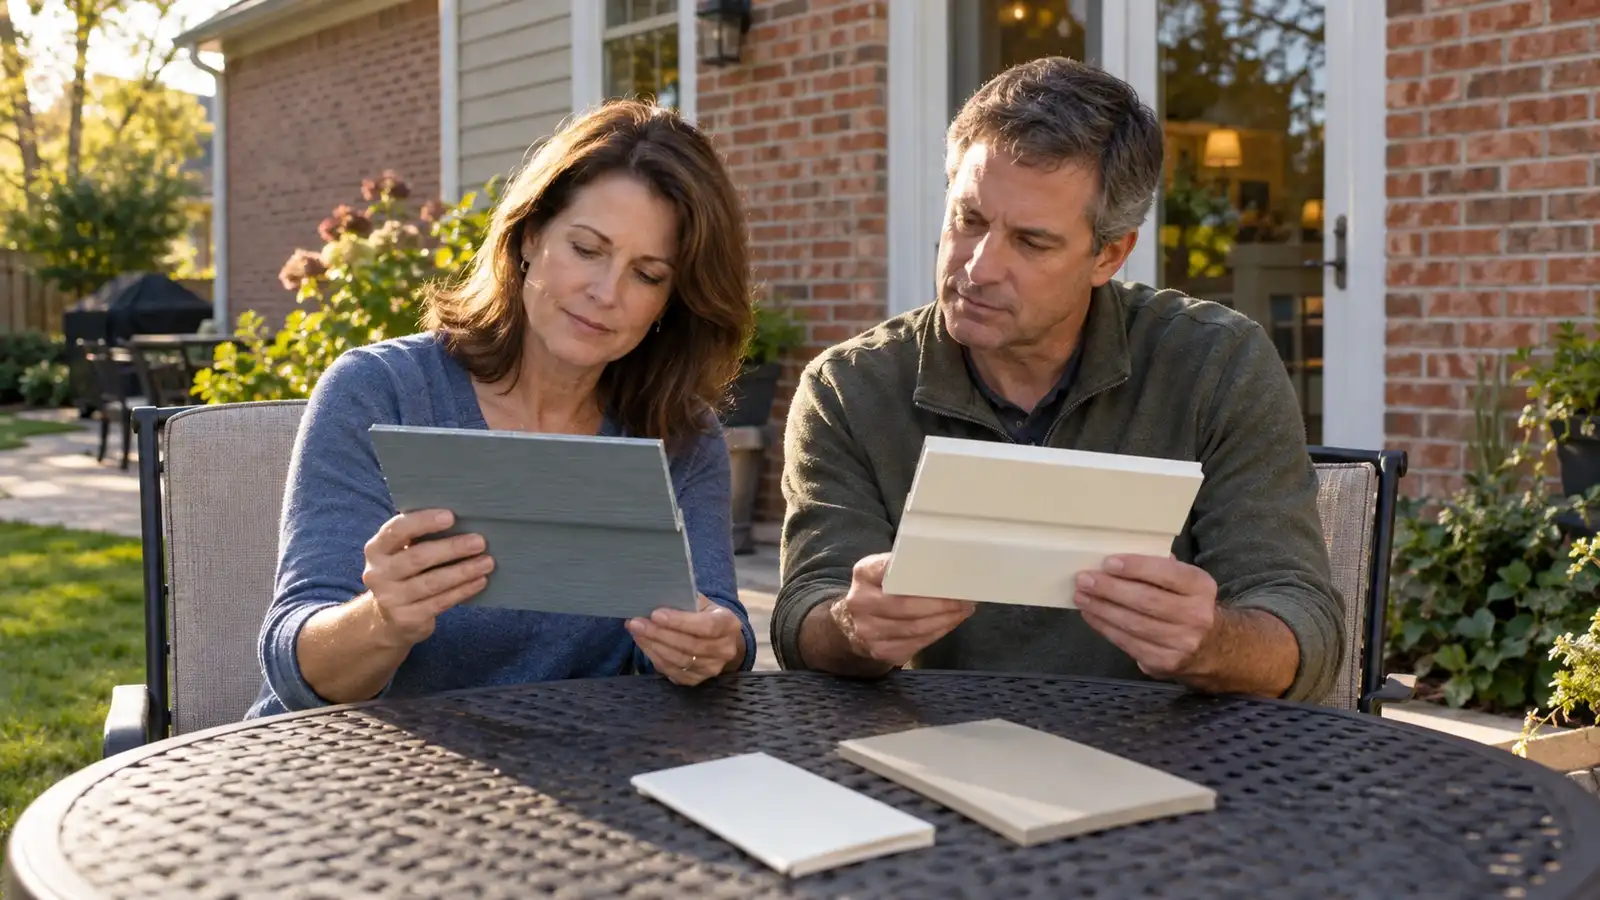
Homeowner couple comparing blue-gray and cream siding samples at a patio table.

When James Hardie deserves a closer look

Fiber cement may be a strong fit if you prefer a painted exterior, value noncombustible cladding, and are comfortable planning for finish maintenance. It also deserves consideration when the design you want depends on a particular Hardie profile or trim treatment.

Imagine planning to remain in your home for many years. If you strongly prefer the appearance and can fund both proper wall preparation and the material upgrade, the additional upfront expense may be worthwhile to you.

That is a preference-based decision. It does not require a promise that the upgrade will pay for itself at resale.

When vinyl may be the more practical choice

Vinyl may suit a homeowner whose priorities are controlling the initial cost and avoiding a repainting cycle. It can also leave more room in the project budget for repairs, flashing, or insulation identified during planning.

For example, if the wall needs substantial preparation, selecting a suitable vinyl product could make it easier to complete that necessary work without stretching the budget for decorative upgrades.

The key is specifying a product you are comfortable owning, with an appearance and maintenance plan you understand.

Keep resale expectations grounded

If you expect to sell soon, compare your planned exterior with similar homes and ask a local real estate professional about buyer expectations. Do not assume a national remodeling return percentage predicts your property’s sale price.

It can help to rank your priorities before reviewing the final prices. Put appearance, initial cost, painting, fire behavior, and energy-related improvements in the order that matters to you. Then note which proposal meets each priority. If the preferred option leaves necessary repairs unfunded, revisit the design or product selection before proceeding. A clear priority list also keeps a small sample or a promotional warranty headline from deciding the entire project.

For either material, ask yourself: Would I still choose this project if resale added less value than I hoped? That question keeps the decision focused on the house’s condition, your use of it, and a budget you can support.

Questions Homeowners Ask Before Choosing New Siding

Can James Hardie siding replace existing vinyl?

Yes, but the proposal should specify removal and preparation. Do not assume new fiber cement can simply be attached over existing vinyl. The installer needs to evaluate the backing, fastening requirements, water barrier, and wall condition for the selected system. Ask how trim depth and transitions will be handled when the materials change.

Is all siding described as “Hardie board” made by James Hardie?

Ask for the manufacturer and exact product name. “Fiber cement” identifies a material category; James Hardie identifies a manufacturer. Your estimate, delivered materials, and warranty paperwork should agree. This prevents an informal label from obscuring which product you are actually purchasing.

Can I use fiber cement and vinyl on the same house?

Ask your contractor to evaluate the proposed combination. The design needs a clear plan for transitions, trim, water drainage, colors, and the requirements of both products. Request drawings or a marked-up elevation before ordering. A mixed-material project should have an intentional design and a defined installation scope.

How long will siding replacement take?

The schedule depends on the house, access, material availability, preparation, repairs, weather, and finishing work. Ask for a project-specific sequence, including when the house will be opened, how exposed areas will be protected, and what could change the completion date. Distinguish the ordering lead time from the time crews will be working at your property.

Should I repair my current siding before considering replacement?

Have the condition assessed before deciding. An isolated damaged area may justify repair, while widespread deterioration or recurring problems may call for a broader project. Reviewing the signs your home needs new siding can help you identify concerns to discuss during the visit. Appearance alone should not determine the extent of the work.

Compare Siding Options With Lane’s Contracting

Lane’s Contracting provides James Hardie siding installation, vinyl siding installation, siding replacement, and siding repair for Smithfield and surrounding North Carolina communities. You can check the company’s service areas when planning your project.

Bring your priorities to the estimate: the appearance you prefer, any recurring exterior problems, your budget, and how much future maintenance you want to manage. Request a written scope that identifies the selected product, preparation, trim, finishing, and warranty information.

If you are still deciding, ask for both materials to be evaluated against the same project requirements. That gives you a clear basis for choosing the siding that fits your home.

Request a Free Estimate

The post James Hardie Siding vs Vinyl Siding: Which Is Better for Your Home? appeared first on Lanes Contracting.


source https://lanescontracting.com/james-hardie-vs-vinyl-siding/

Tuesday, October 6, 2026

Complete Guide to Siding Replacement in North Carolina

Siding replacement in North Carolina becomes worth considering when damaged exterior panels, recurring repairs, or moisture problems make your home’s current siding difficult to maintain. The first decision is whether the damage is isolated or part of a wider problem. A faded wall and a wall with hidden rot can look equally tired from the driveway, but they need different work.

Replacing siding also gives you a chance to examine the materials underneath, address vulnerable transitions, and choose an exterior you can maintain comfortably. That makes the inspection and written scope just as important as the color or brand.

Before committing to a project, understand what needs replacing, what can stay, and how the proposed installation will address the reason your existing siding failed.

When Should You Replace Your Siding?

Consider replacement when damage affects substantial areas, repairs keep failing, or deteriorated materials prevent reliable protection of the wall beneath. An inspection should establish whether the problem involves the siding alone, the installation details, or concealed wall damage. Age helps provide context, but it should not determine the decision by itself.

Contractor inspecting cracked beige siding and rotted corner trim beside a window

Damage that deserves closer inspection

Cracked panels, loose sections, open joints, and warped boards are reasons to investigate. Pay particular attention to damage near windows, roof edges, decks, and the bottom of exterior walls. Those locations deserve a closer look because several materials and water paths meet there.

Soft wood siding or swollen wood-based edges may indicate deterioration. Interior staining near an exterior opening also warrants investigation, although the entry point may be a window, roof connection, or another detail rather than the siding panel itself.

Photograph visible changes from ground level. Note whether staining appears after rain and whether the same area has needed previous repairs. This history helps a contractor understand the problem without treating every mark as proof that the entire exterior needs replacement.

Cosmetic wear versus functional failure

Fading alone does not establish that siding has stopped working. Surface dirt, an aging finish, and an outdated color may call for cleaning, suitable refinishing, or an elective appearance upgrade.

The distinction matters for your budget. You can plan a cosmetic project around your preferences, while active leaks and loose materials need earlier assessment. For a focused starting point, review these signs your home needs new siding.

Repair, Replace One Wall, or Reside the Whole House?

The right scope depends on how far the damage extends and whether the underlying cause can be corrected. Ask the contractor to explain why the proposed boundary of work makes sense.

Approach When it may fit What to establish first
Localized repair Damage is limited and surrounding materials remain serviceable A compatible repair can be made and the cause has been identified
Replacement of one wall or section Problems are concentrated in a distinct area The transition to retained siding can be detailed properly
Full siding replacement Deterioration is widespread or repeated repairs are becoming impractical The scope includes inspection and correction of relevant concealed problems

Imagine a single panel damaged by an impact. If the adjacent siding and backing are sound, siding repair may be reasonable. Now imagine multiple walls with recurring swelling and previous patches. That situation deserves a broader assessment before another repair is approved.

Matching also affects the decision. A discontinued profile or a weathered color may make an isolated repair conspicuous. Ask to see the proposed replacement material beside the existing siding before deciding how much appearance matters.

If a contractor recommends complete siding replacement, request photographs and a clear explanation of the observed failures. The recommendation should connect the evidence to the proposed work.

Why the Wall Behind the Siding Matters

The visible finish is one part of an exterior wall. Understanding the layers underneath helps you assess a proposal and ask useful questions during installation.

Inspector examining exposed plywood sheathing beside housewrap and black window flashing

Sheathing, drainage, and flashing

Sheathing is the board or panel layer behind the exterior finish. Its condition affects what the contractor can securely attach to and whether repairs are needed before installation continues.

A water-resistive barrier, often called a WRB, helps manage water that passes behind the siding. Flashing connects vulnerable openings and transitions to that drainage system. The U.S. Department of Energy’s explanation of water-managed walls describes how these components work together to direct water outward.

Ask which existing layers will be exposed, retained, repaired, or replaced. “New siding included” does not answer those questions.

Why sealing every opening can be a mistake

Some openings serve a drainage function. Adding sealant indiscriminately can interfere with the intended water path. Building Science Corporation’s flashing guidance emphasizes directing water toward the exterior at joints, openings, and projecting elements.

Your contractor should distinguish joints that require sealant from areas designed to drain. Request an explanation of window heads, roof-to-wall connections, and the bottom termination before they are concealed.

If damage appears beneath a roof intersection, ask whether a separate roof repair is needed as part of correcting the source.

Choosing Siding for Your North Carolina Home

Start with the conditions around your house: sun exposure, nearby vegetation, splashback, and exposure to wind-driven rain. Ask how the selected product and installation details suit those conditions. Then compare the appearance, maintenance requirements, and complete installed scope.

Homeowner and contractor comparing beige and blue-gray siding samples outside a house

Vinyl siding

Vinyl is worth considering when you want a factory-colored exterior and prefer to avoid a regular repainting routine. Compare the exact product lines offered, including profiles, accessories, finish limitations, and installation requirements.

Movement is a key installation detail. The Polymeric Exterior Products Association’s installation manual explains that vinyl expands and contracts with temperature changes. Fastening it too tightly can cause buckling. Ask how the installer accommodates movement while meeting the product’s fastening requirements.

The details of your chosen vinyl siding installation should be reflected in the written specification, rather than described only as “standard vinyl.”

Fiber cement siding

Fiber cement is another option for homeowners considering lap siding, panel designs, or shingle-style accents. James Hardie offers different products and finishes, so the selection should identify both the siding and its finish system.

According to James Hardie’s product guidance, its fiber cement siding is water resistant, but proper installation remains necessary. A durable board does not remove the need to address the wall behind it.

Ask about fastening, clearances, cut-edge treatment, and the responsibilities associated with a factory finish versus a field-painted product. The James Hardie siding service page provides a relevant starting point for discussing these options with Lanes Contracting.

Compare complete systems

Decision factor Questions to ask about vinyl Questions to ask about fiber cement
Appearance Which profiles, seams, and accessories will be visible? Which board profile, texture, and trim arrangement are specified?
Finish What colors and finish limitations apply? Is the product factory finished or painted after installation?
Installation How will movement and panel attachment be handled? What fastening, clearance, and finishing instructions apply?
Maintenance What cleaning and repair methods are approved? What cleaning, finish care, and joint inspections are needed?
Warranty What does the exact product warranty cover? Are substrate, finish, and installation covered separately?

If you prefer wood or another material, request a separate specification covering its maintenance and installation needs. Do not assume that every contractor offers every siding type.

What Determines Siding Replacement Costs?

A useful siding estimate prices the measured exterior and the work needed to prepare it. Interior floor area is not the same as siding area. Wall height, gables, openings, corners, and access all affect the project being quoted.

Material choice matters, but comparing board prices alone leaves out much of the work. Removal, disposal, trim, preparation, finishing, and access should appear clearly in the proposal.

Read the estimate by scope

Cost component What the proposal should explain
Existing siding removal Which layers will be removed and how disposal is handled
Wall repairs What is included and how concealed damage will be priced
Water management Which barriers, flashings, and transition details are included
New siding Manufacturer, product line, profile, finish, and coverage area
Trim and accessories Corners, window surrounds, mounting blocks, and other specified pieces
Finishing work Painting, permitted sealants, touch-ups, and related preparation
Access and closeout Equipment, property protection, cleanup, and final walkthrough

Ask each contractor to price the same scope. A lower total may reflect fewer included items, while a higher total may include work that another bidder lists as an extra.

Plan for concealed damage before removal starts

An inspection cannot reveal every condition behind intact siding. Agree on a written change process that includes photographs, the proposed repair, its price, and your approval before additional work proceeds.

If payment timing affects your plans, review Lanes Contracting’s project financing options. Financing is subject to the provider’s approval and terms. Request the applicable rate, fees, payment schedule, and total repayment amount before deciding.

What Happens During Siding Replacement?

The exact sequence depends on the product and the condition of the house. A written plan should still explain how the crew will protect the property, uncover the wall, address findings, and complete the exterior.

Two installers positioning a long horizontal siding plank from a guarded work platform

Before the crew arrives

Confirm the selected materials, delivery arrangements, disposal location, and work boundaries. Ask who will handle exterior lights, shutters, house numbers, downspouts, and other items that may interfere with the work.

Move vehicles and outdoor furniture away from the agreed work zone. Identify pet routes and entry points that need to stay usable. The contractor should explain how any utilities or attached equipment will be handled safely.

Removal and inspection

Existing siding comes off according to the agreed scope. This is the opportunity to assess exposed sheathing and compare concealed conditions with the original assumptions.

Ask for photographs of both problem areas and completed repairs. Discuss how exposed sections will be protected if rain interrupts the work. These arrangements should be settled before the house is opened up.

Installation and handover

The crew completes the necessary preparation and installs the specified siding, trim, accessories, and finish. Product instructions should govern the relevant installation details.

At the walkthrough, compare completed work with the contract and record any unfinished items. Obtain care instructions, product identification, warranty documents, and the contact for future service questions. Lanes Contracting’s siding installation services are a useful reference when discussing the project scope.

Scheduling, Permits, and Older Homes

Ask for a schedule specific to your project, including material availability, preparation, installation, finishing, and closeout. A start date alone does not explain how long your property will be affected.

Weather interruptions, concealed repairs, inspections, and coordination with other trades can change the sequence. Request a plan for updates and temporary protection if the schedule moves.

Contractor holding a project folder and discussing weathered white siding with a homeowner

Confirm local requirements before work begins

Ask the contractor to confirm permit and inspection requirements with the local building department for your address and scope. Do not assume that replacing a finish and repairing structural wall damage follow the same process.

If your property has association or historic-district restrictions, check approvals before ordering colors or changing profiles. Keep written approvals with the contract.

Address older paint before disturbing it

For homes built before 1978, discuss lead paint precautions before removal or surface preparation. The EPA’s renovation guidance for homeowners explains why qualifying work requires attention to lead-safe practices and certified firms.

Give the contractor any previous testing records and ask how the applicable requirements will be addressed. Older materials should be evaluated before work begins if their composition or handling requirements are uncertain.

Can New Siding Improve Comfort and Energy Efficiency?

Siding replacement can create an opportunity to improve insulation and air sealing while parts of the exterior are accessible. The actual benefit depends on what work is included and the condition of the rest of the home.

Insulation and air sealing perform different jobs. Insulation slows heat transfer; air sealing addresses unwanted air movement through gaps. The Department of Energy identifies both as relevant to home energy efficiency.

Installer positioning an exterior insulation board beside a white-framed window

Ask the contractor to separate the siding price from any proposed energy-related upgrades. If exterior insulation is recommended, request details on how it changes trim depth, fastening, and window transitions.

A drafty room does not prove the siding is the cause. Windows, attic conditions, ducts, and other leakage paths may need assessment. If windows are also deteriorated, discuss the appropriate scope of window replacement before the siding details are finalized.

Treat promised utility savings cautiously unless they are supported by a house-specific assessment. An appearance upgrade alone is not a basis for predicting lower bills.

Coordinating Siding With Windows, Roofing, and Trim

Exterior remodeling projects often meet at the same edges and openings. If another component is already due for replacement, discussing it early helps the trades agree on the work sequence.

Cream siding, white window trim, gutters, soffits, and a dark shingle roof on a house

Decide what stays before designing the details

Tell the siding contractor which windows, gutters, lights, and other exterior features you expect to retain. Ask how each item will connect to the finished siding and who is responsible for reinstalling it.

A window planned for replacement soon deserves particular attention. Ask whether completing it now would avoid reopening newly finished work. If the existing windows are serviceable, request details that accommodate keeping them.

Choose colors alongside permanent materials

View physical samples beside roofing, brick, stone, and other finishes that will remain. Check the combination in different light before approving the order.

Confirm trim widths, corner treatments, and where accent materials begin and end. A written selection sheet gives everyone the same reference and reduces the chance of decisions being made during installation without your input.

Choosing a Contractor and Understanding the Warranties

A useful proposal explains the work well enough that you can compare it with another bid. Ask the contractor to show relevant siding projects and discuss how unexpected conditions were handled.

Read customer testimonials for details about communication, cleanup, and follow-through. Also request documentation appropriate to your project, including insurance and any required licensing.

Homeowners reviewing a document folder with a contractor at an outdoor table beside gray siding

Verify credentials independently

Use the North Carolina Licensing Board for General Contractors to check current licensing requirements, and its license search to verify a claimed license. Match the business identity to the contract.

A credential associated with one trade or manufacturer does not establish experience with every siding system. Ask specifically about the product being proposed for your house.

Separate product coverage from workmanship

A manufacturer’s warranty and a contractor’s workmanship warranty address different responsibilities. Request both in writing and ask who handles an initial service call.

Check covered defects, exclusions, maintenance duties, transfer conditions, and whether labor or removal costs are included. A long warranty term does not establish that every future repair will be covered.

Before signing, resolve vague phrases such as “repair as needed” or “all necessary trim.” The contract should identify what is included and how changes will be approved.

Caring for the Finished Exterior

Keep the care instructions for your exact siding and finish. Cleaning methods that suit one product may not suit another.

For example, James Hardie’s cleaning guidance recommends gentle tools and a low-pressure garden hose for routine cleaning. Follow the applicable manufacturer guidance before using pressure equipment or cleaners.

From ground level, look for loose pieces, damaged finishes, new staining, and changes around openings. Keep photographs if a condition changes and contact the installer before attempting a repair that could conflict with product requirements.

Keep gutters and downspouts functioning, avoid directing sprinklers at exterior walls, and maintain the specified clearances around landscaping. Ask which joints need periodic attention and which openings must remain clear for drainage.

Store the product name, profile, color, purchase information, contract, and installation photographs together. Those records make future matching, maintenance, and warranty conversations easier.

Plan Your Siding Replacement With Lanes Contracting

Start with the condition of the house and the outcome you want. Gather photographs, note recurring issues, and decide which appearance or maintenance concerns matter most to you.

Lanes Contracting provides siding services, including repairs, replacement, vinyl siding installation, and James Hardie siding. Request an assessment to discuss the appropriate scope, available materials, and work needed before installation begins.

Ask for a written estimate that identifies the chosen products, preparation, trim, cleanup, and process for concealed repairs. That gives you a practical basis for deciding how to move forward.

Request a Free Estimate

The post Complete Guide to Siding Replacement in North Carolina appeared first on Lanes Contracting.


source https://lanescontracting.com/siding-replacement-guide/

The Complete Guide to Window Replacement in North Carolina

If you are researching window replacement in North Carolina, you have probably noticed that every window company tells a slightly different ...